Greetings Terrans, I put the idea out there about doing a painting tutorial about my approach to the Legion of the Damned last time, and literally one person said yes… My regular gaming amigos also asked, so how could I refuse! 😊
So, disclaimers… I’m not publishing this because I think I’m an awesome painter – this isn’t me bragging, (or humble-bragging). The model we’re going to look at isn’t an awesome paint job, even by my own standards – it ain’t going to win any awards, and isn’t technical or special.
What this post does describe is my quick & easy approach to getting a Primaris LotD Marine to what I think of as a good tabletop standard with the minimum of fuss and effort… It also helps me out when I need to remember how the hell I painted these guys when I come back to them after being distracted by something else.
Ok, so let’s get cracking!
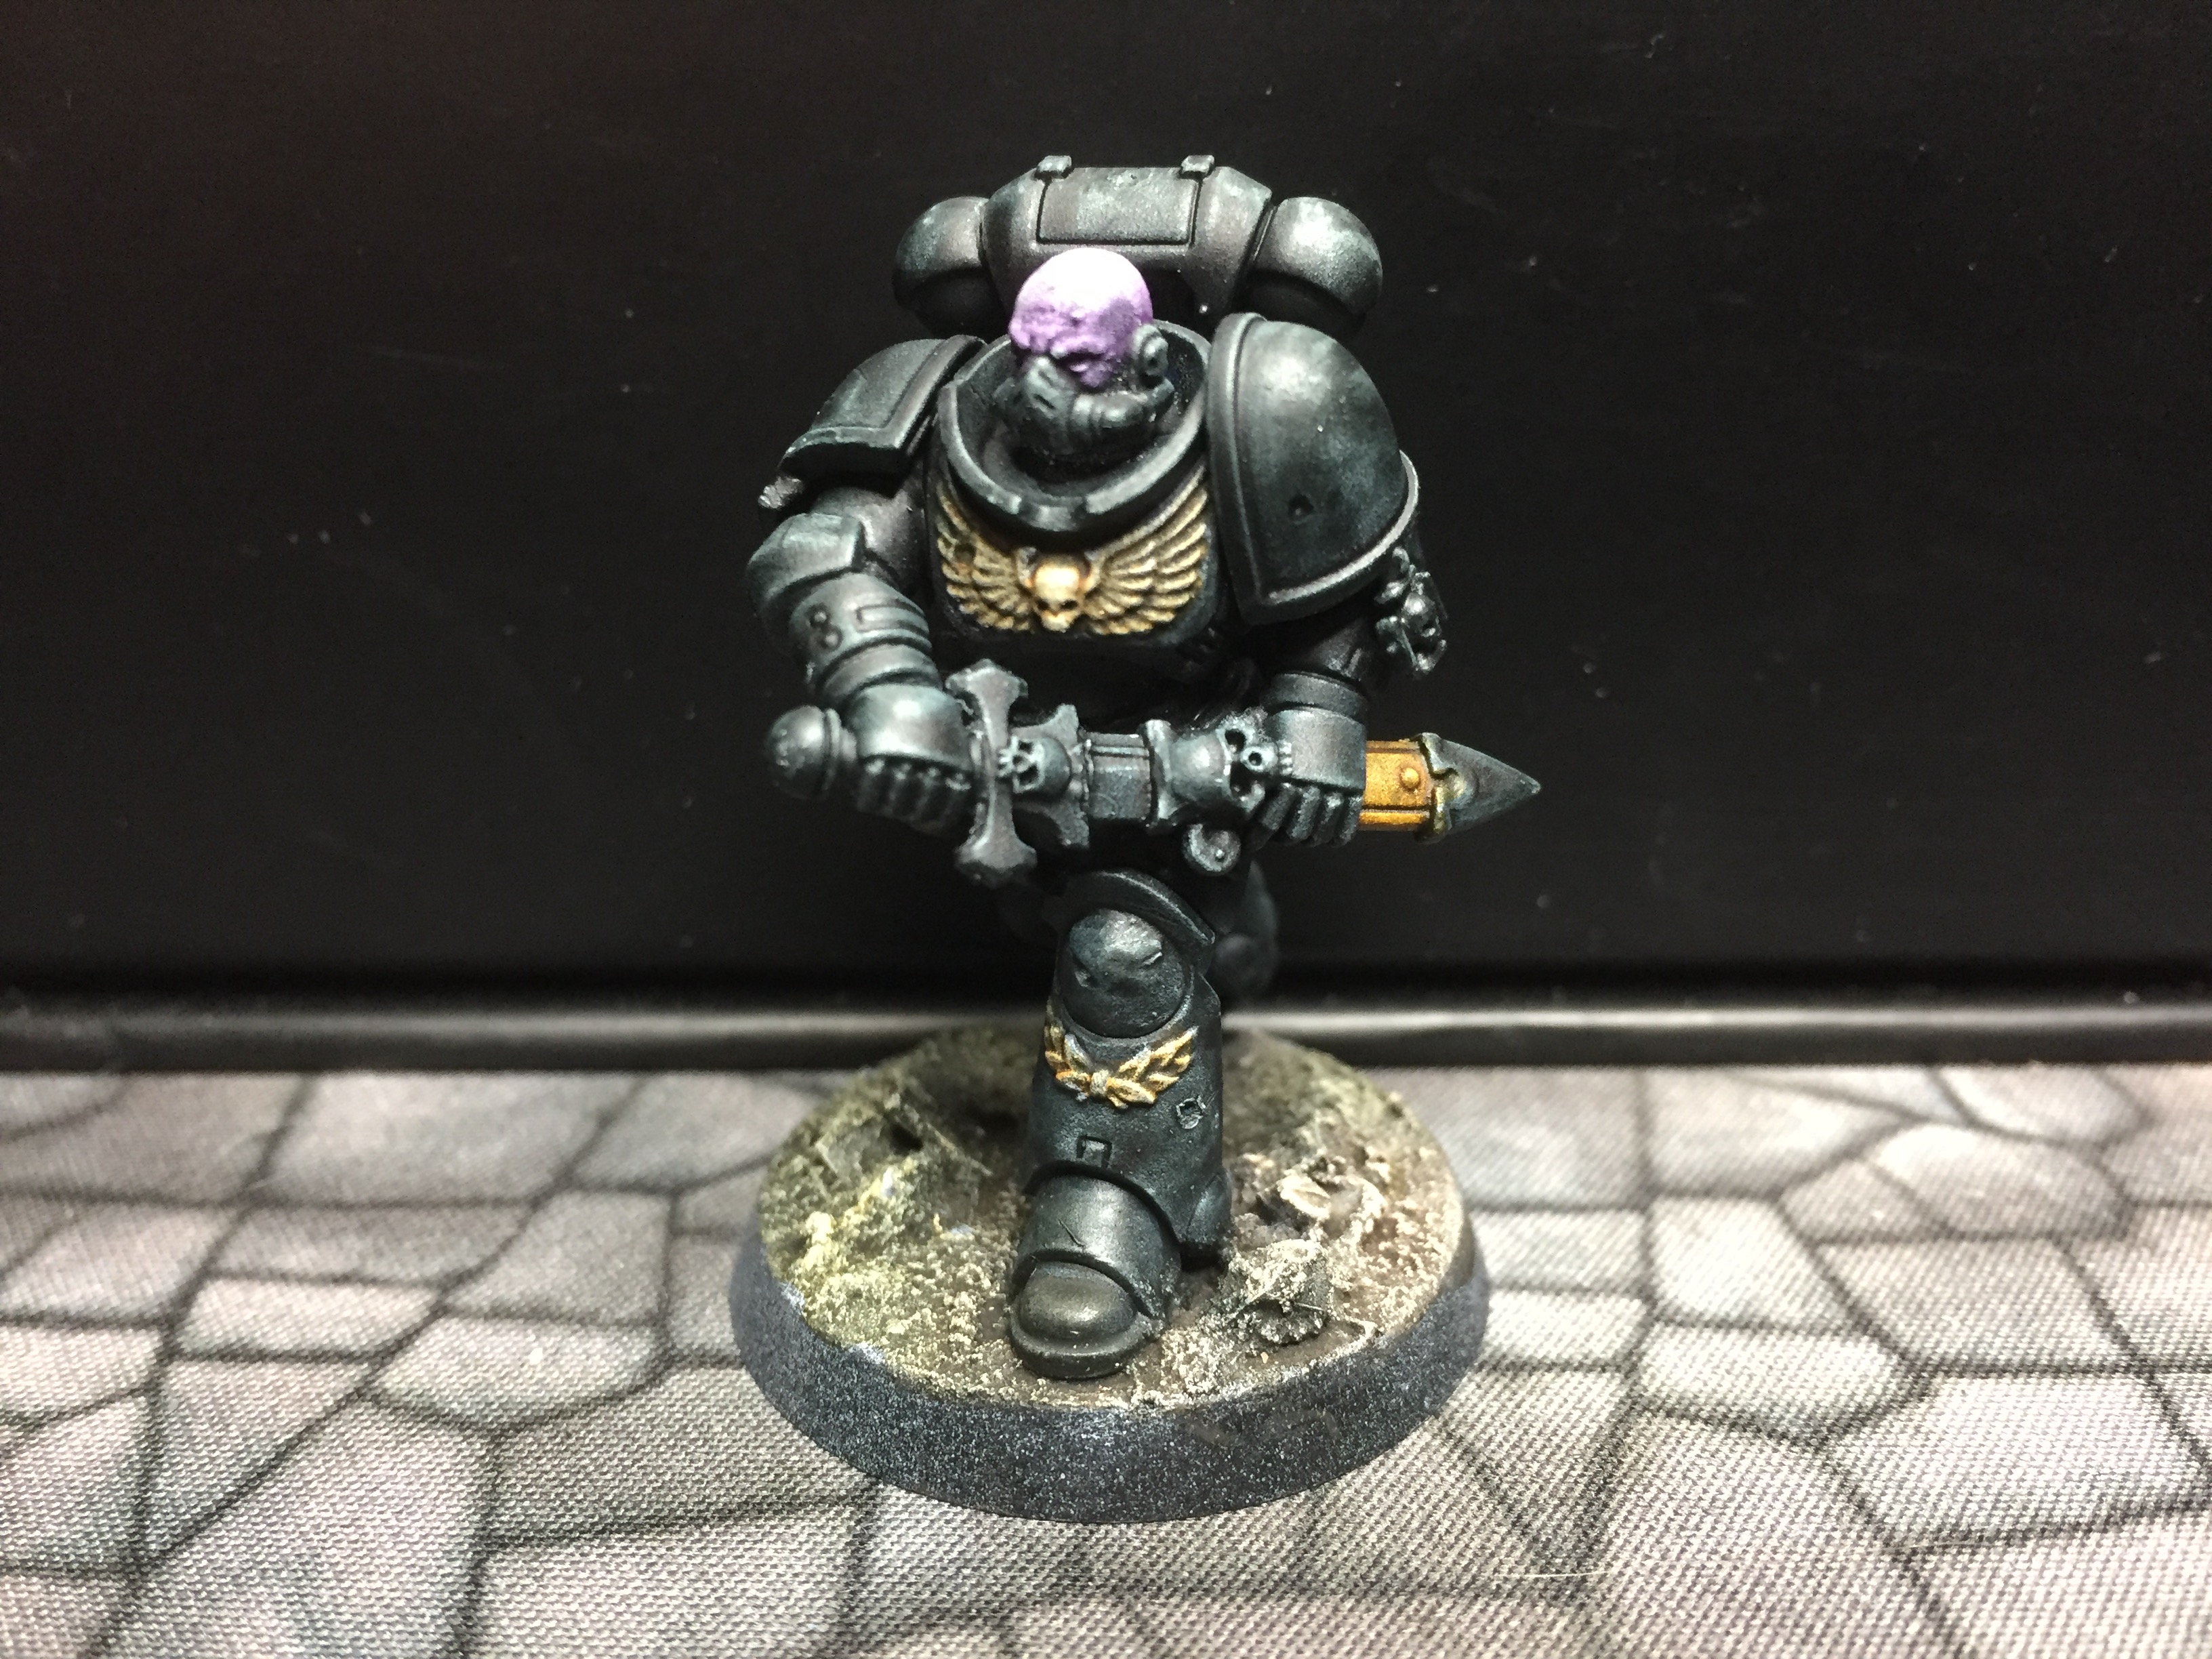
1: The start point is fairly standard for me – the mini is built (and in this case converted), mould lines are removed, barrels are drilled, (ok, so this particular mini doesn’t have a barrel on show, but if it did, it would be drilled). I texture up the base with offcuts & shavings of plastic, and finish with GW Astrogranite texture paint. The whole mini gets primed with Chaos Black, before it gets a top-down blast of Corax White:

2: The mini gets a heavy drybrush with Whitescar – I do this from all angles, with the focus on catching all edges & picking out texture (especially on the base):

3: Anything armour or metallic is painted thinly with Black Templar contrast paint. Anything bone coloured is painted with a heavy wash of Seraphim Sepia (I am sure the bone contrast would work just as well). Anything leather (holster, scabbard, pouches) are painted thinly with Snakebite Brown contrast paint. The flesh is painted with a heavy wash of Druchii Violet. The base gets a heavy wash – half Agrax Earthshade, half Athonian Camoshade (allowing the paints to mix & blend on the base):
4: Paint the metalics – I used Ironbreaker for the sword blade, the little lock on the scabbard, vents on the backpack, and the ribbed strips on the back of the armour. The rest was pained with Brass Scorpion:
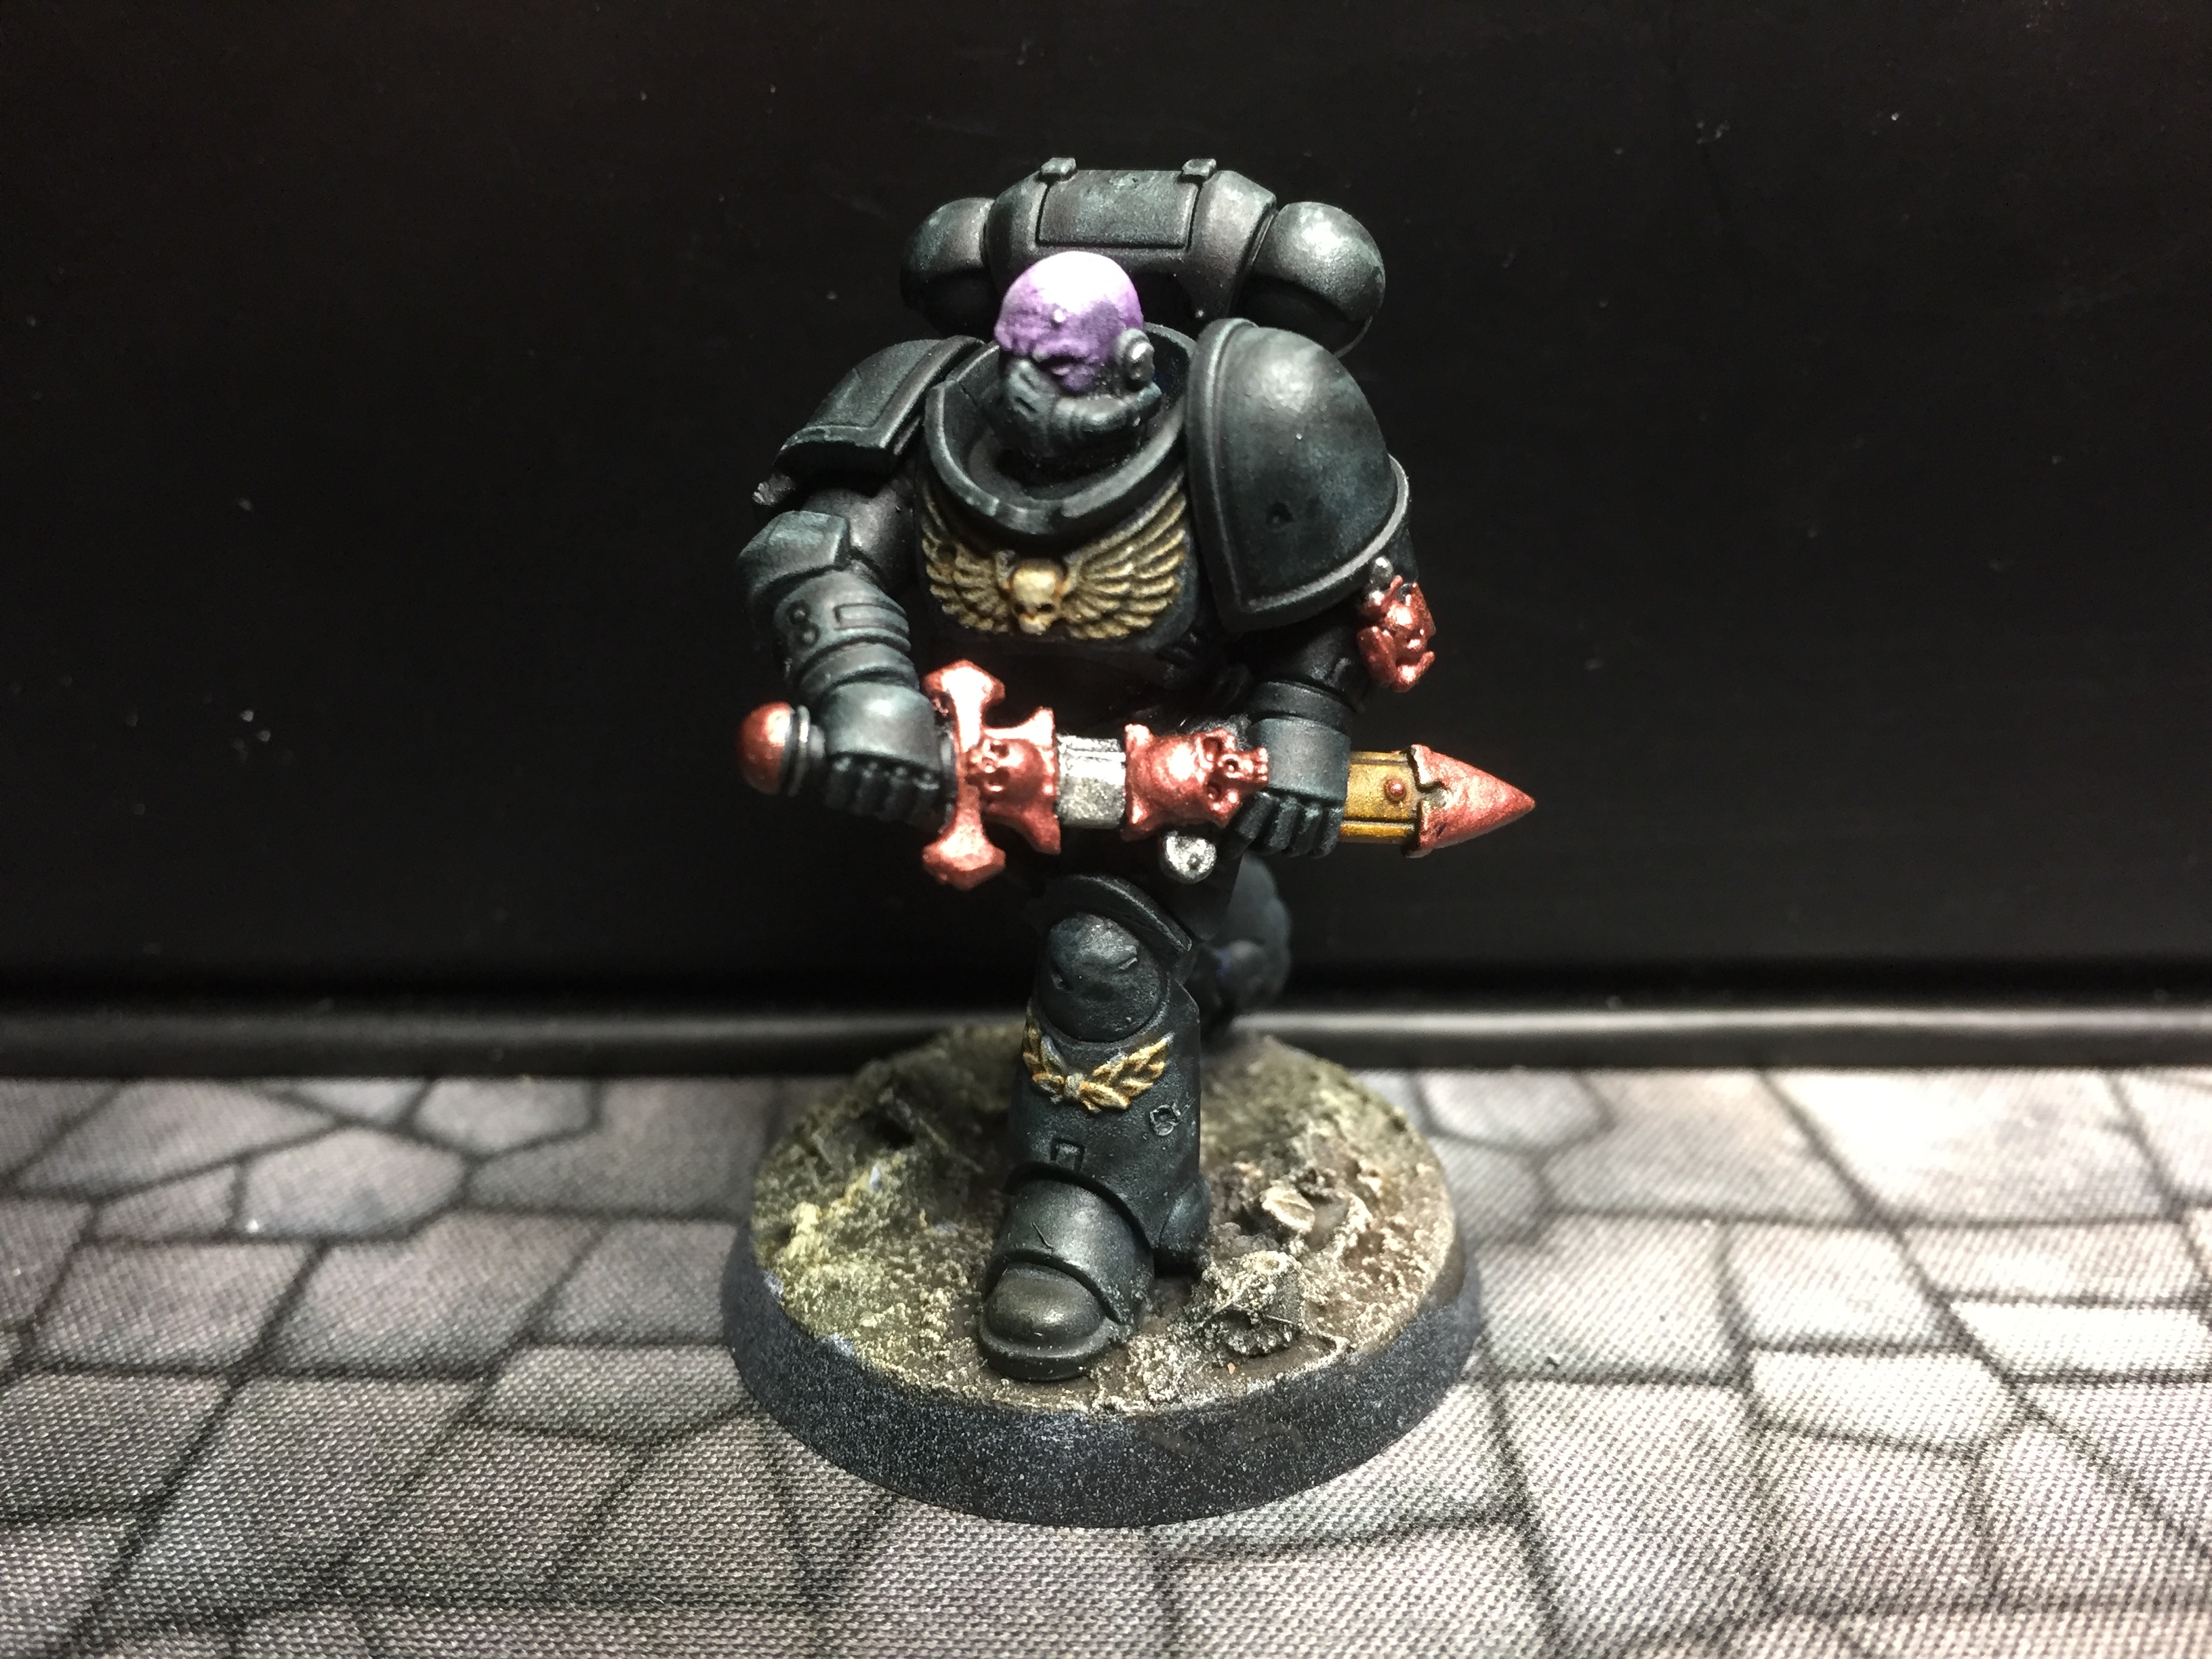
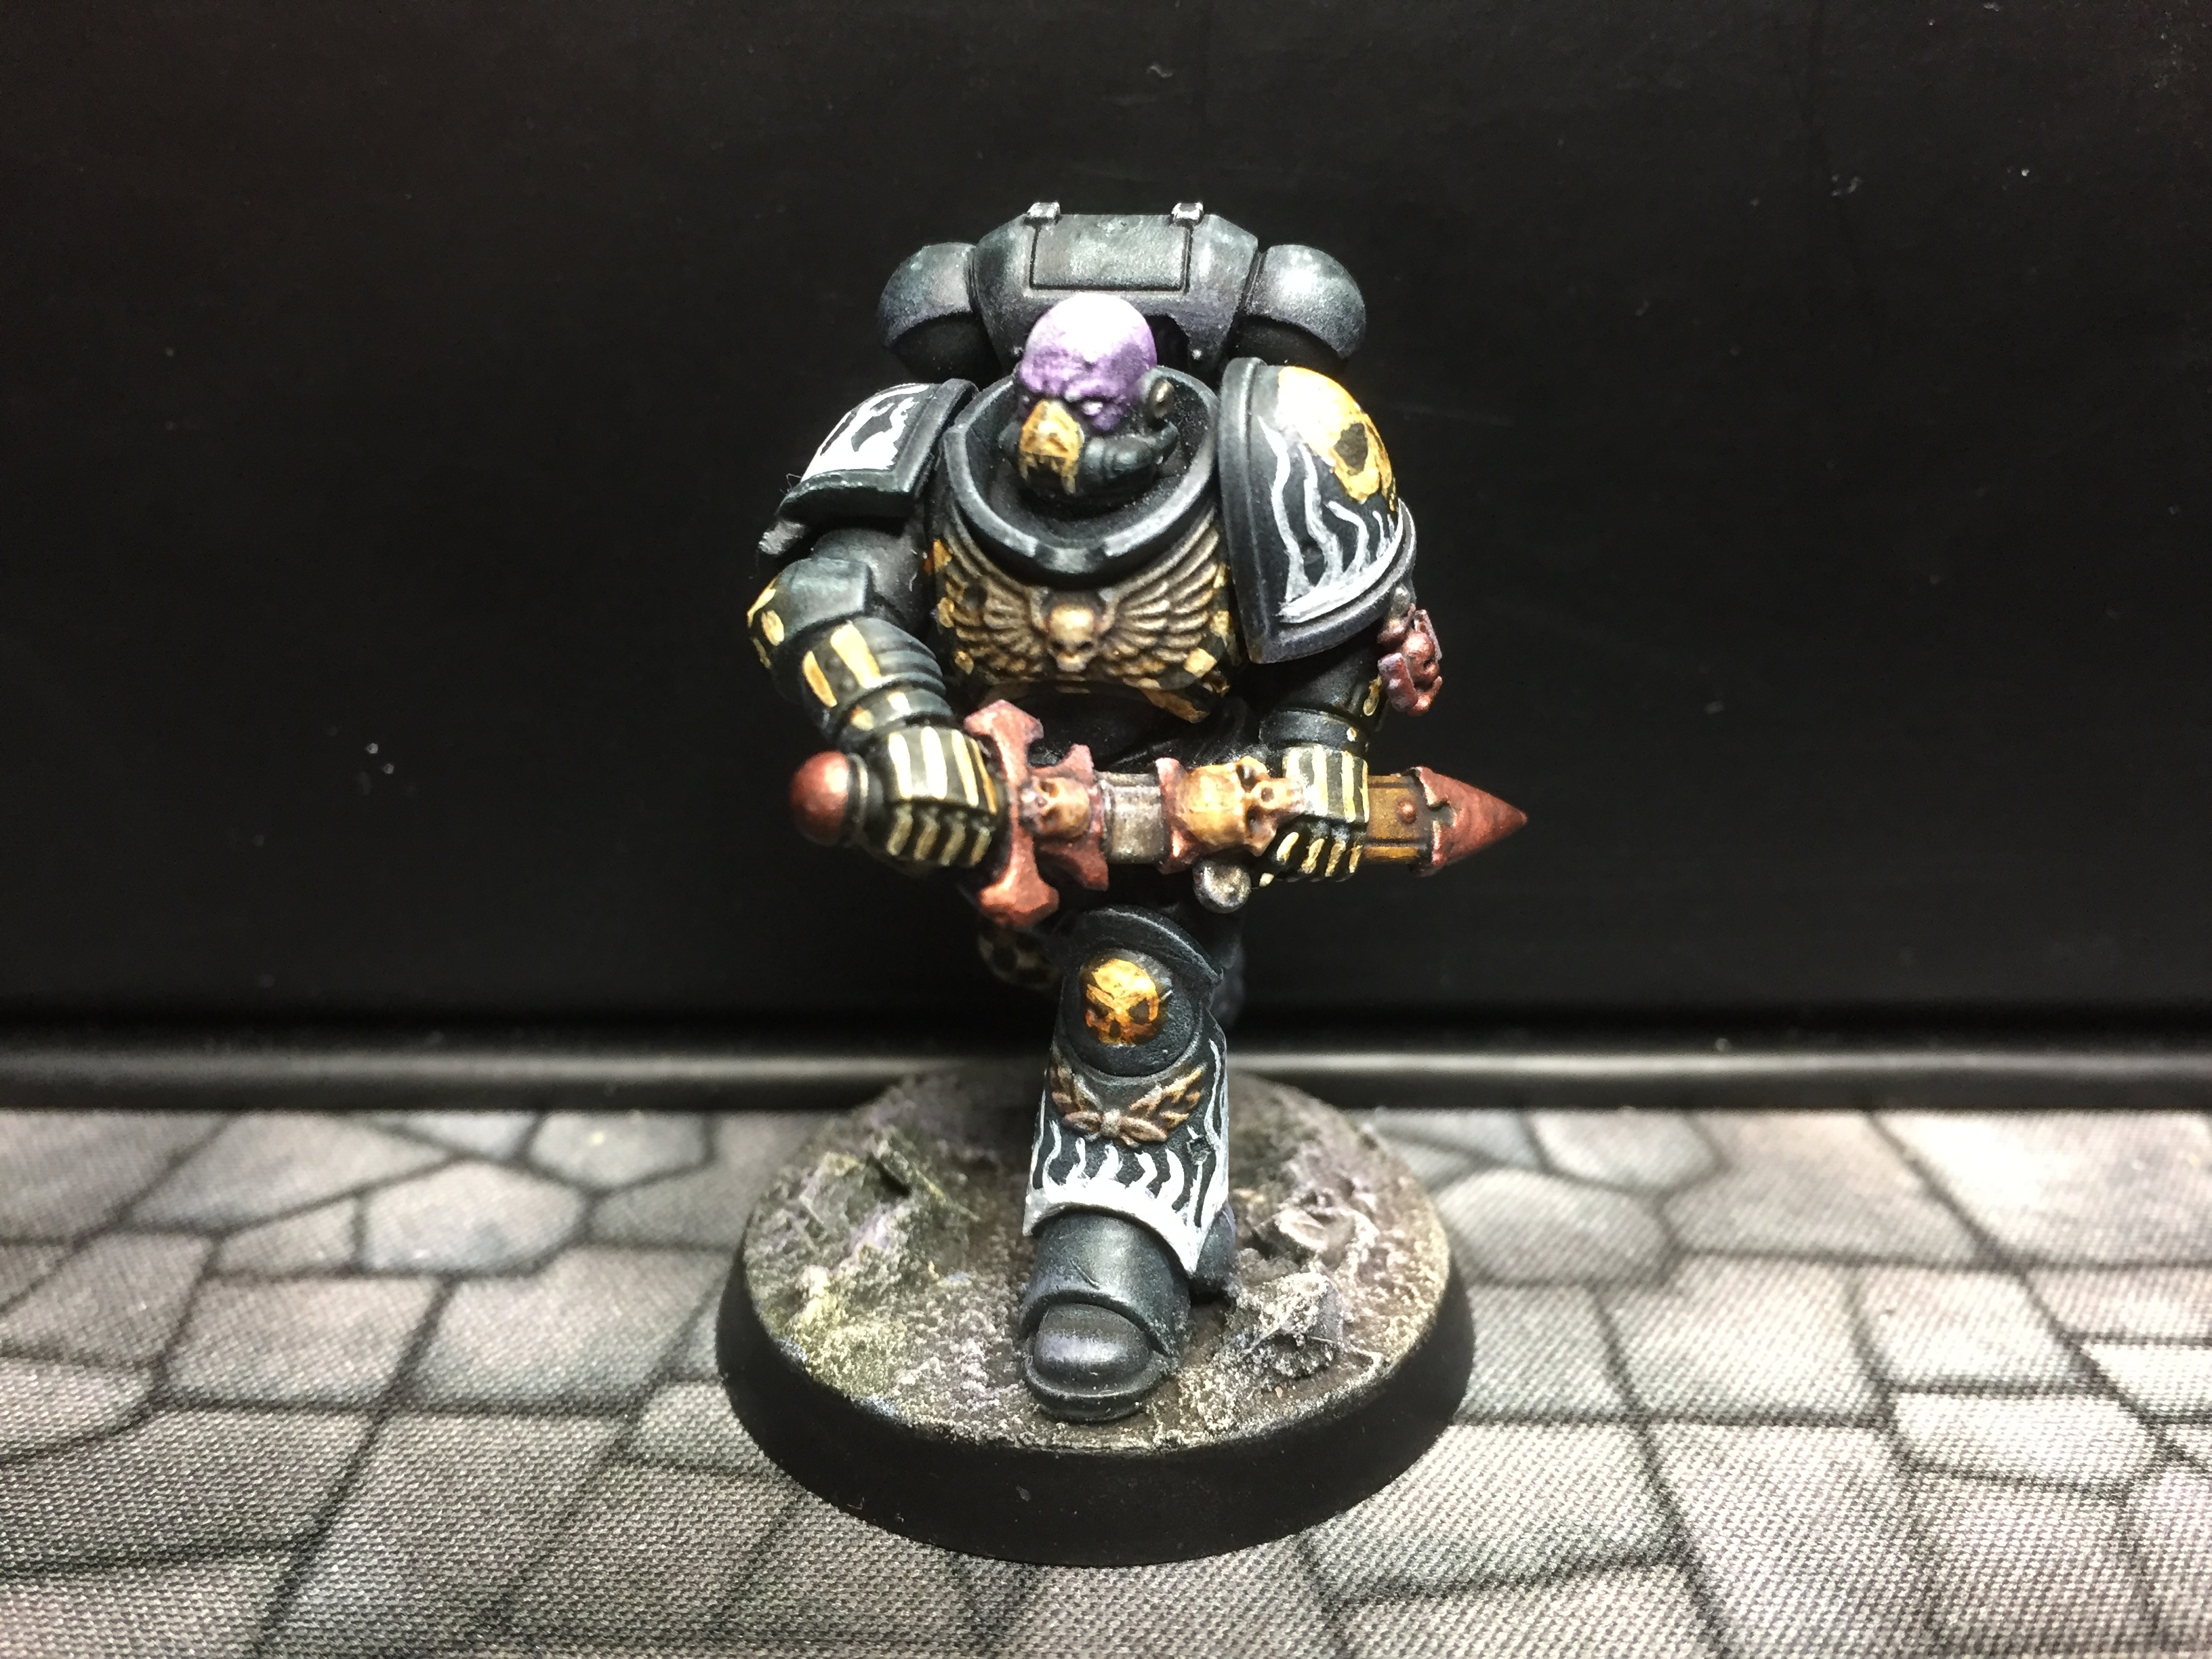
5: All the metal areas, all the leather and all the bone coloured areas get a heavy wash of Agrax Earthshade, (notice that I changed my mind for the sculls on the scabbard & sword pommel, so I quickly painted them white & repeated step 3 before giving them their stage 5 wash):

6: The base and all the black armour gets a drybrush of Slaanesh Grey, with the drybrushing getting heavier the lower down the model we go. The aim is to lightly hit the edges on the top ¾ of the model, and actually to make lowest ¼ look a bit dusty (which is why I use the same colour on the base and on the mini itself – it seems to ground the mini). Finish this stage by tidying up the rim of the base:

Note, I would be quite happy to game with a mini in this state – all in all, stage 1 to 6 took me about half an hour with a hair dryer to speed up the drying.
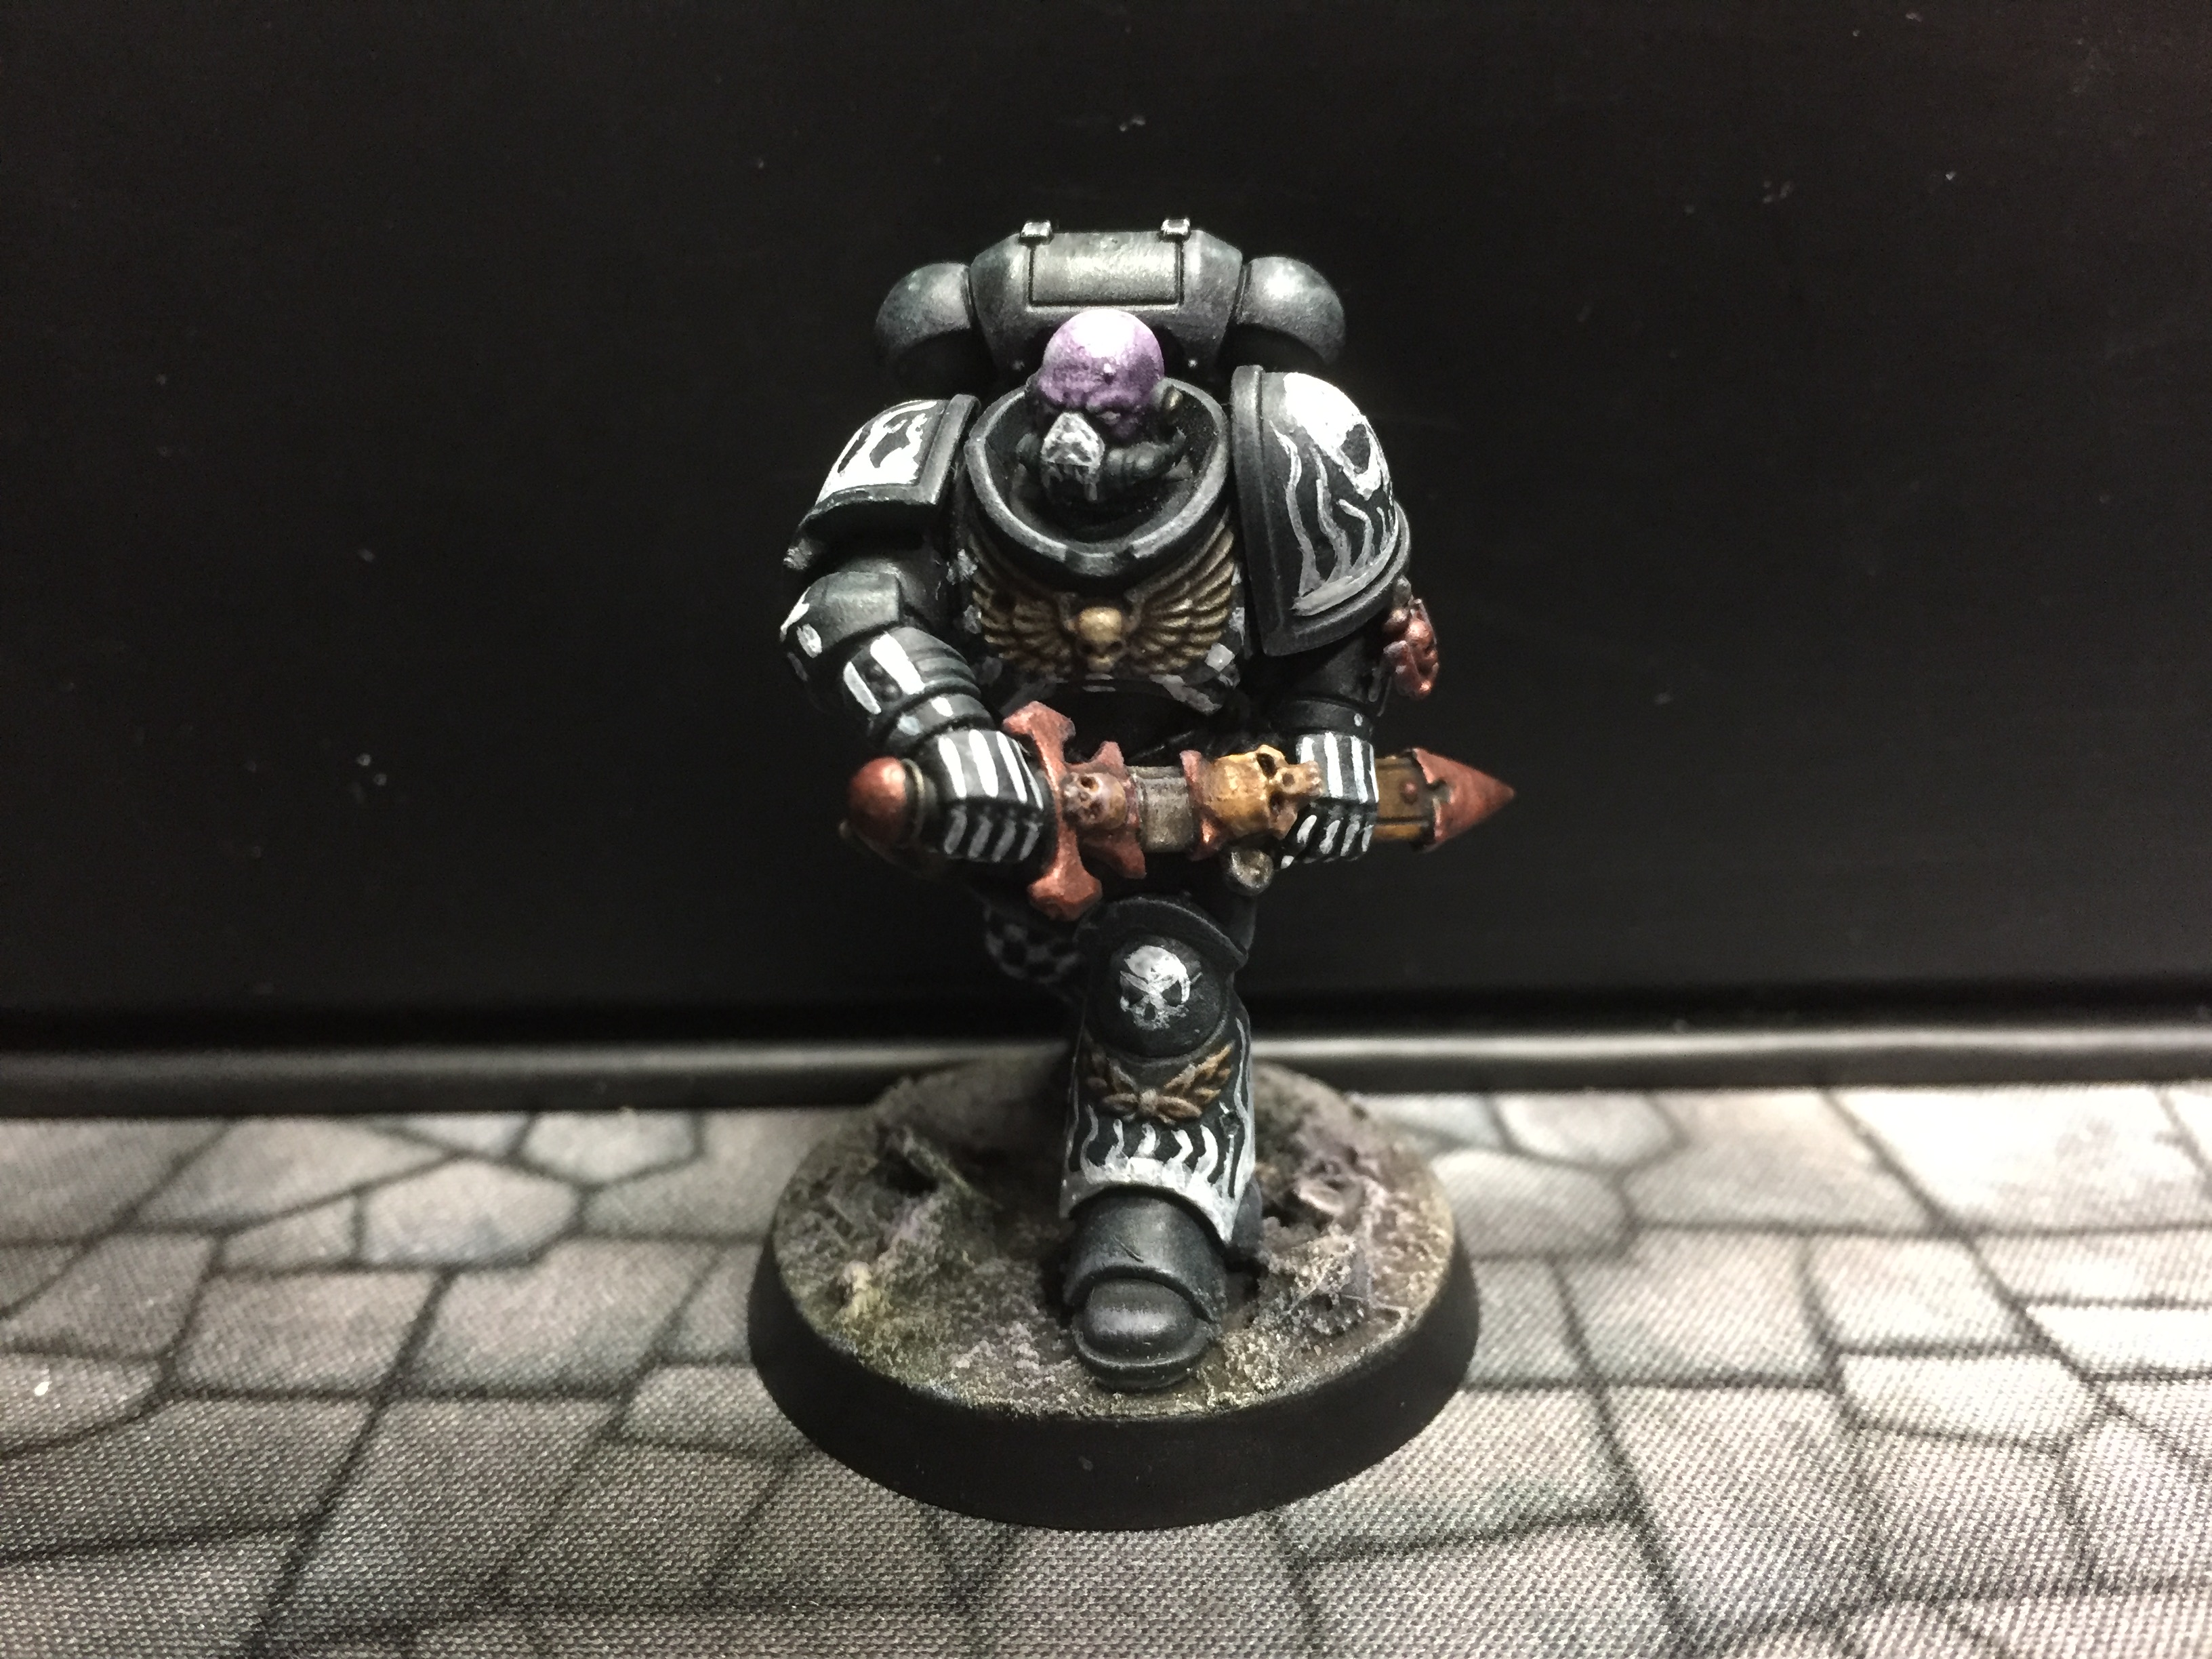
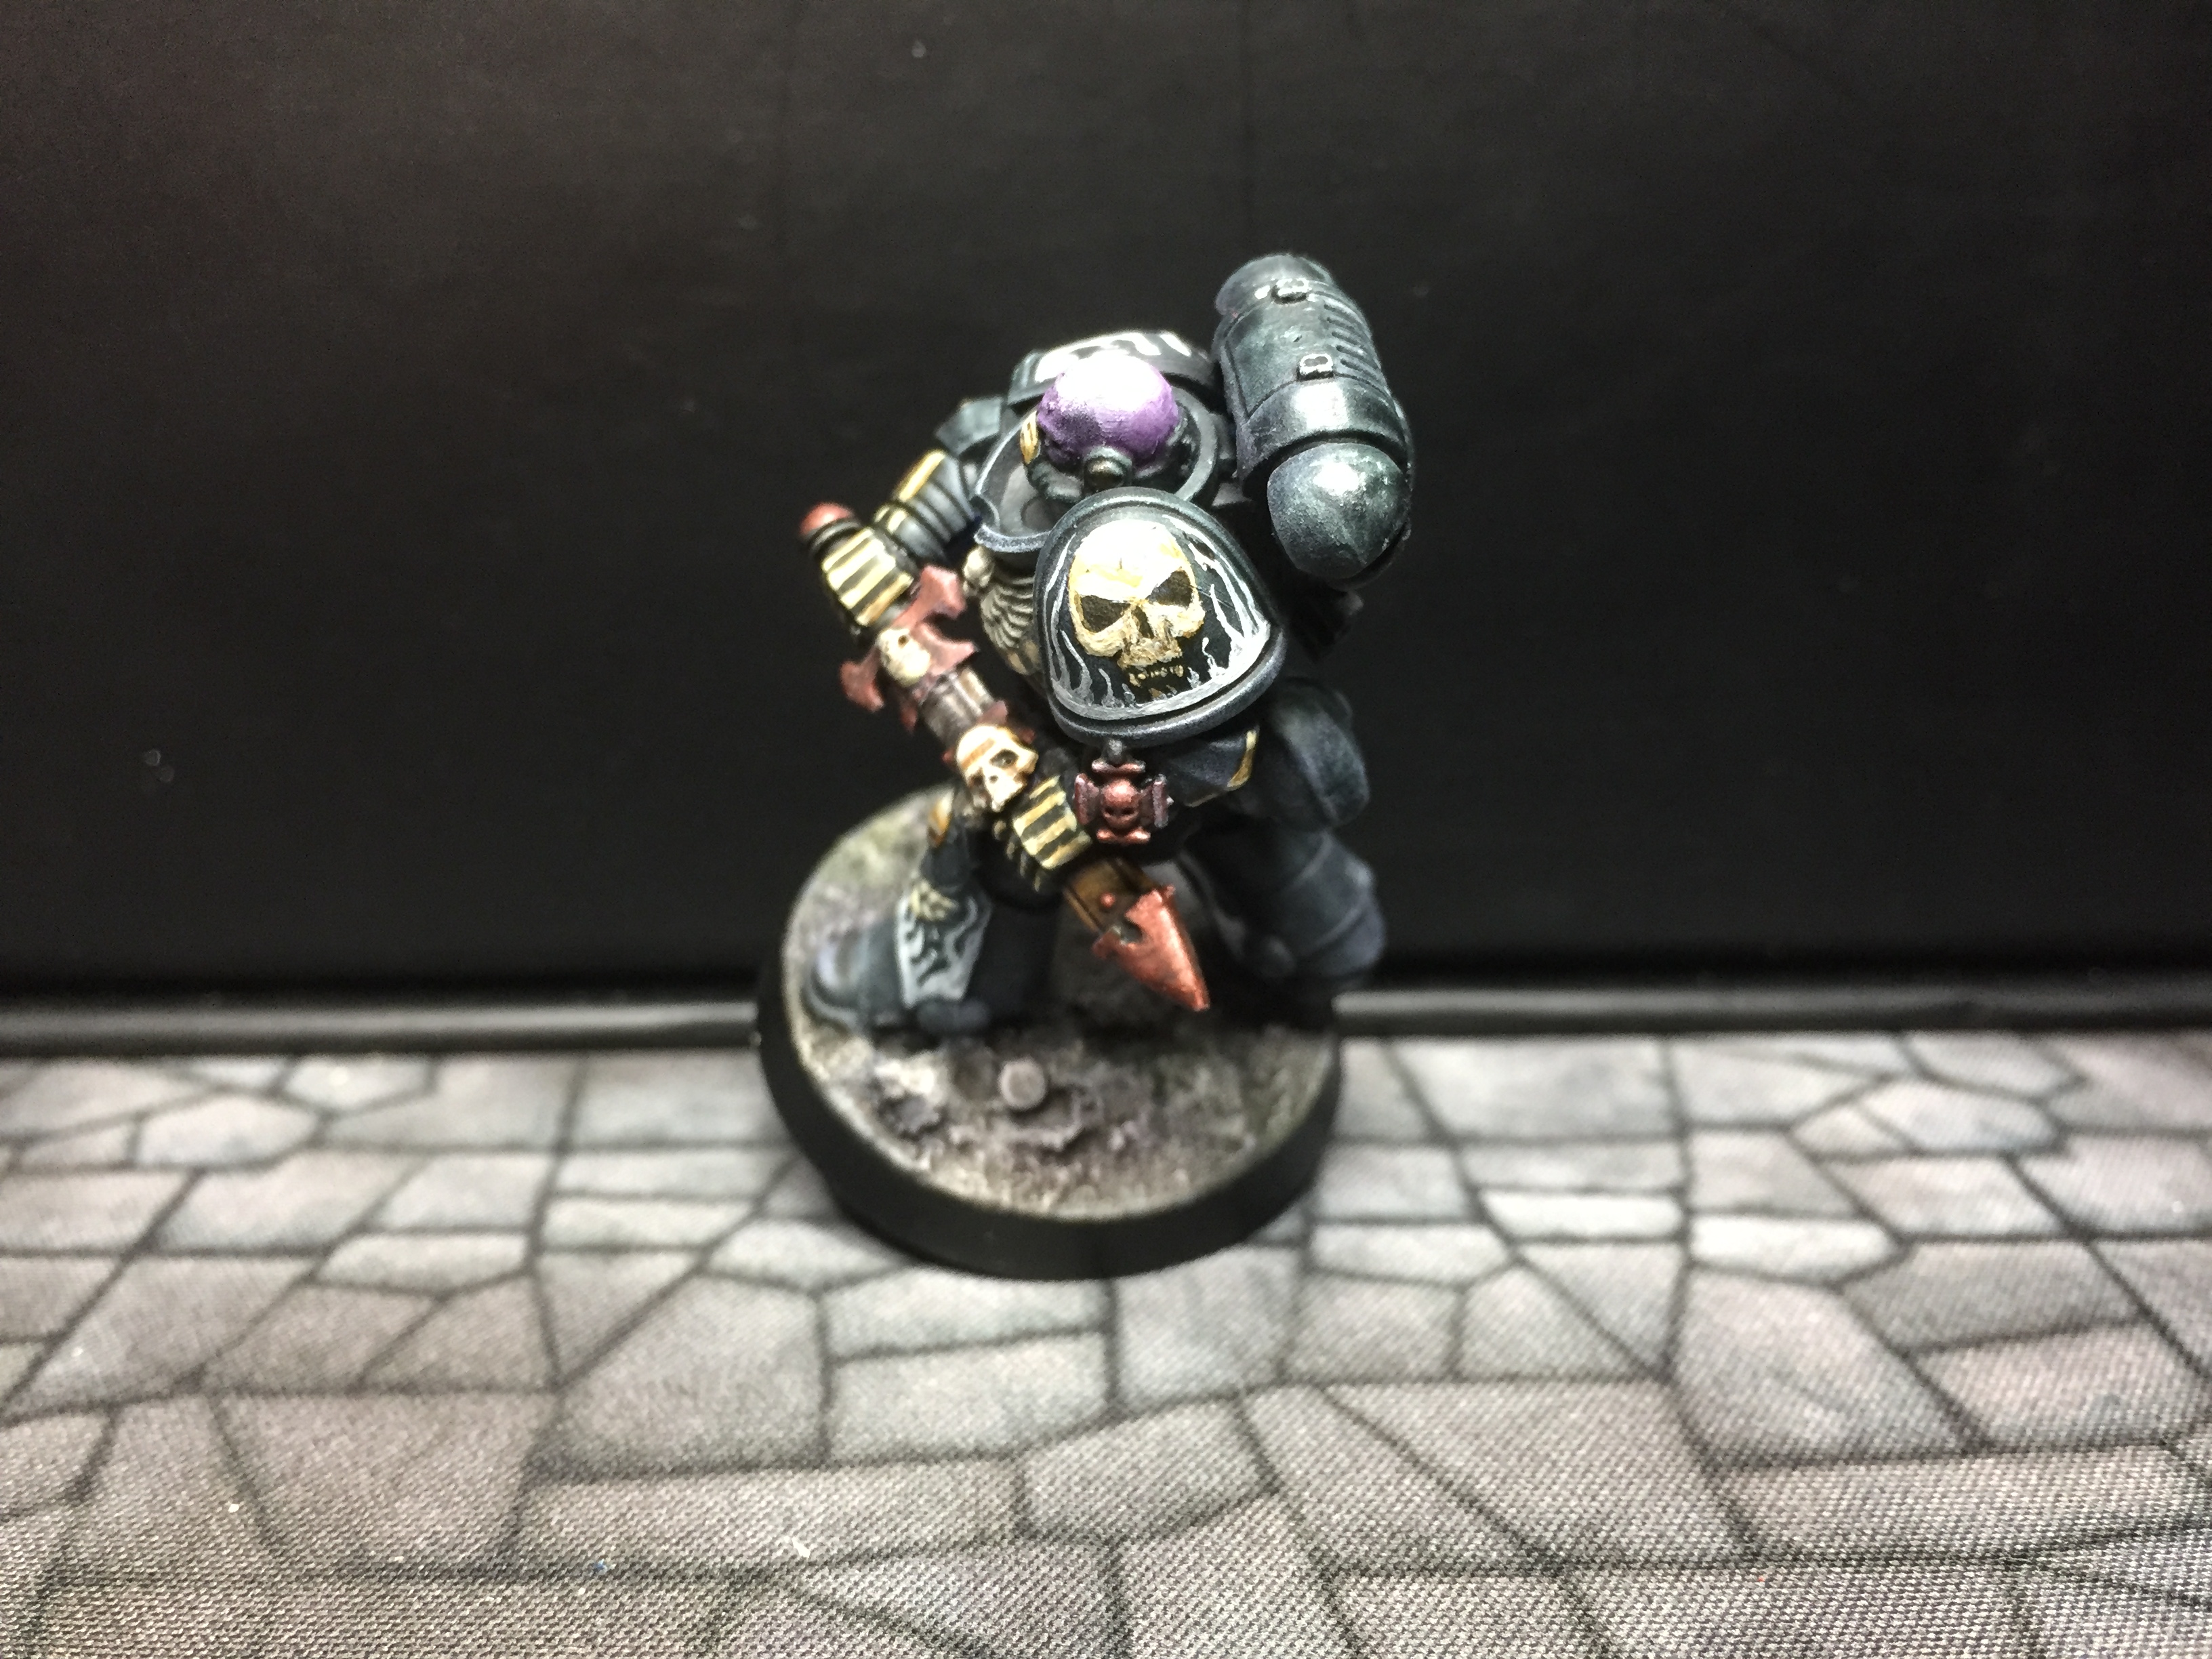
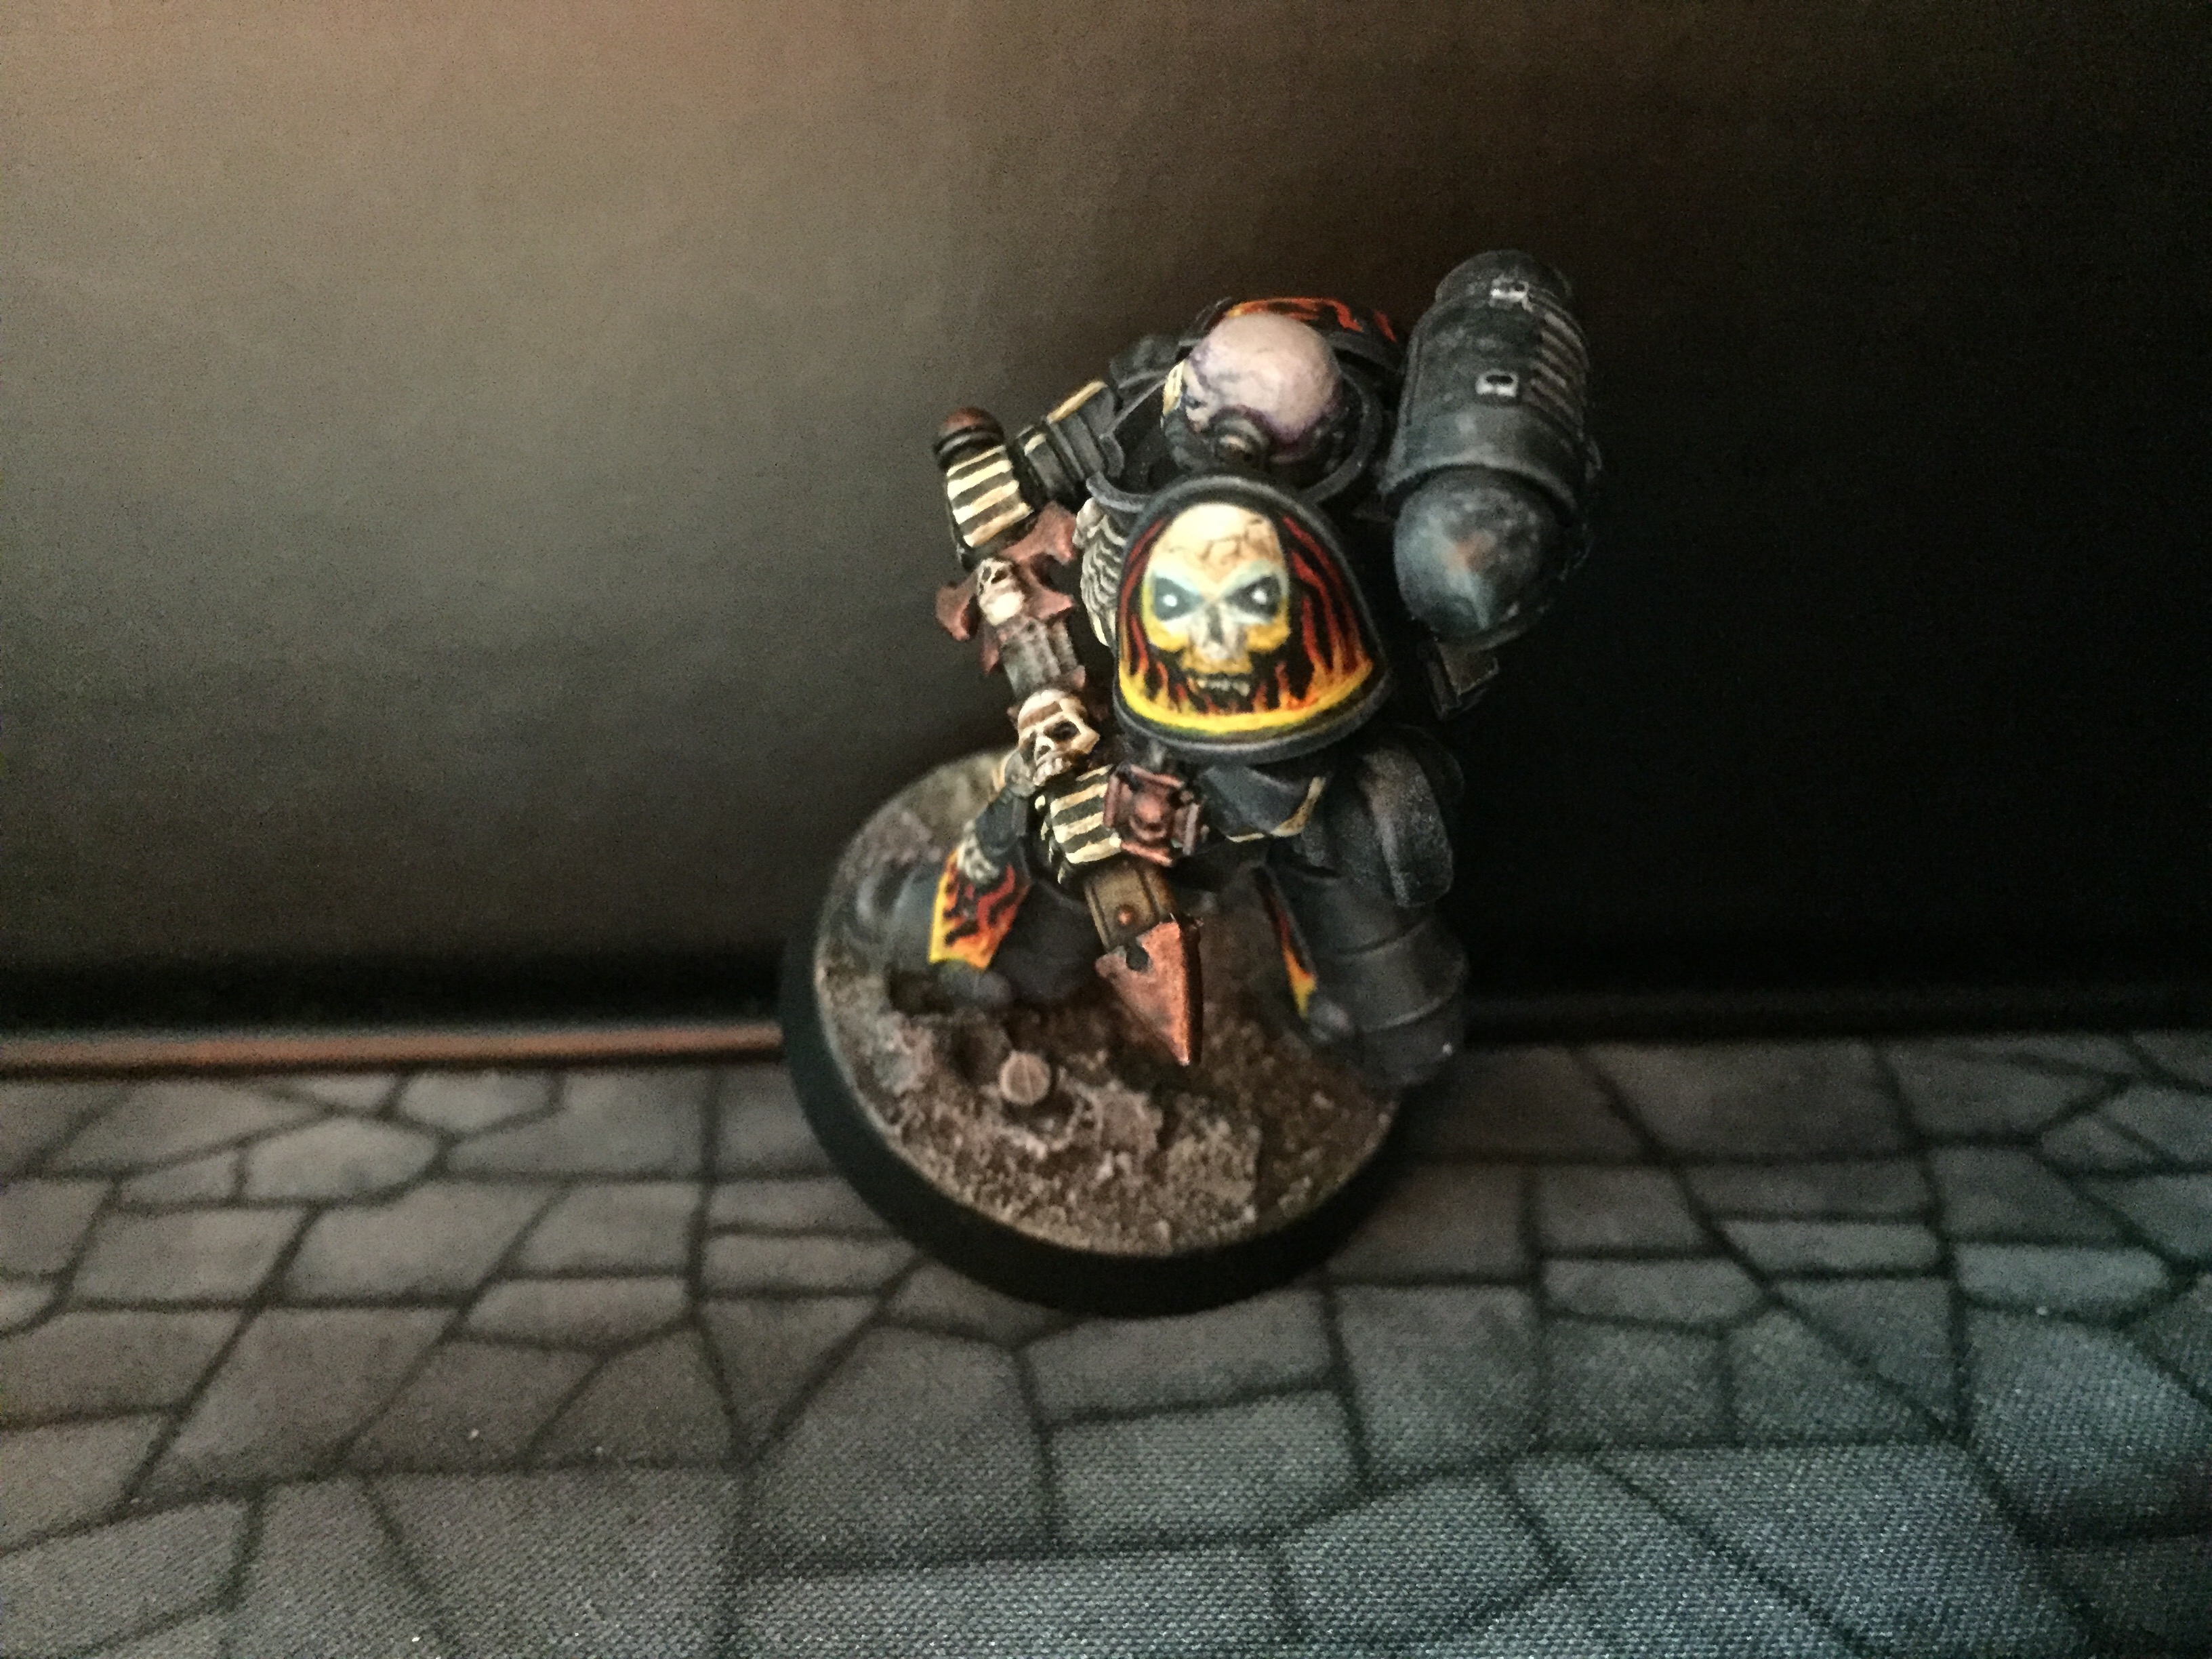
7: Now we get to the fun part – using white scar, I pick out the eyes and/or eye lenses. I also freehand on the details I want to add – in this case, there are a couple of skulls, and I did bones on the arms and some ribs. The rebreather got a bone muzzle type thing, and the helmet (clipped to the mini’s belt at the back) had the faceplate painted like a skull. The flames are just rough wiggly lines, and I also did a chequer pattern on the right knee. Don’t be too precious with this stage, you can always cut back in with Abaddon Black to tidy things up, but rough and ready is just fine for now:

8: All the bone bits got a Seraphim Sepia wash:

9: I then carefully highlight the bone with first Ushabti Bone, and then Screaming Skull. The trick here is to catch the edges of armour plates where the bone goes to or over an edge. You can see that on the knuckles & elbows for example. Anything textured or 3D gets a drybrush of Ushabti Bone & Screaming Skull.
The freehand skulls are picked out a little differently – I highlight the top of the skull, leave a gap and then do the brow of the eye sockets before dabbing the cheek bones & teeth. A little back and forth with black, sepia and bone to get a look you are happy with… Having a reference image to copy helps the first few times, as does a load of practice:

10: Flame time! Doing one armour plate at a time, I put a heavy wash of Casandora Yellow along the bottom of the flame area. I then quickly paint the tips of the flame with Blood Angels Red contrast paint before quickly putting another heavy wash of Casandora Yellow on the bottom & middle of the flame, allowing the red & yellow to mix freely. Hold the model upside down and dry that part with a dryer/warm fan. Repeat for the next armour plate, and so on. Note that I don’t worry about any paint flooding onto the black armour at this point:
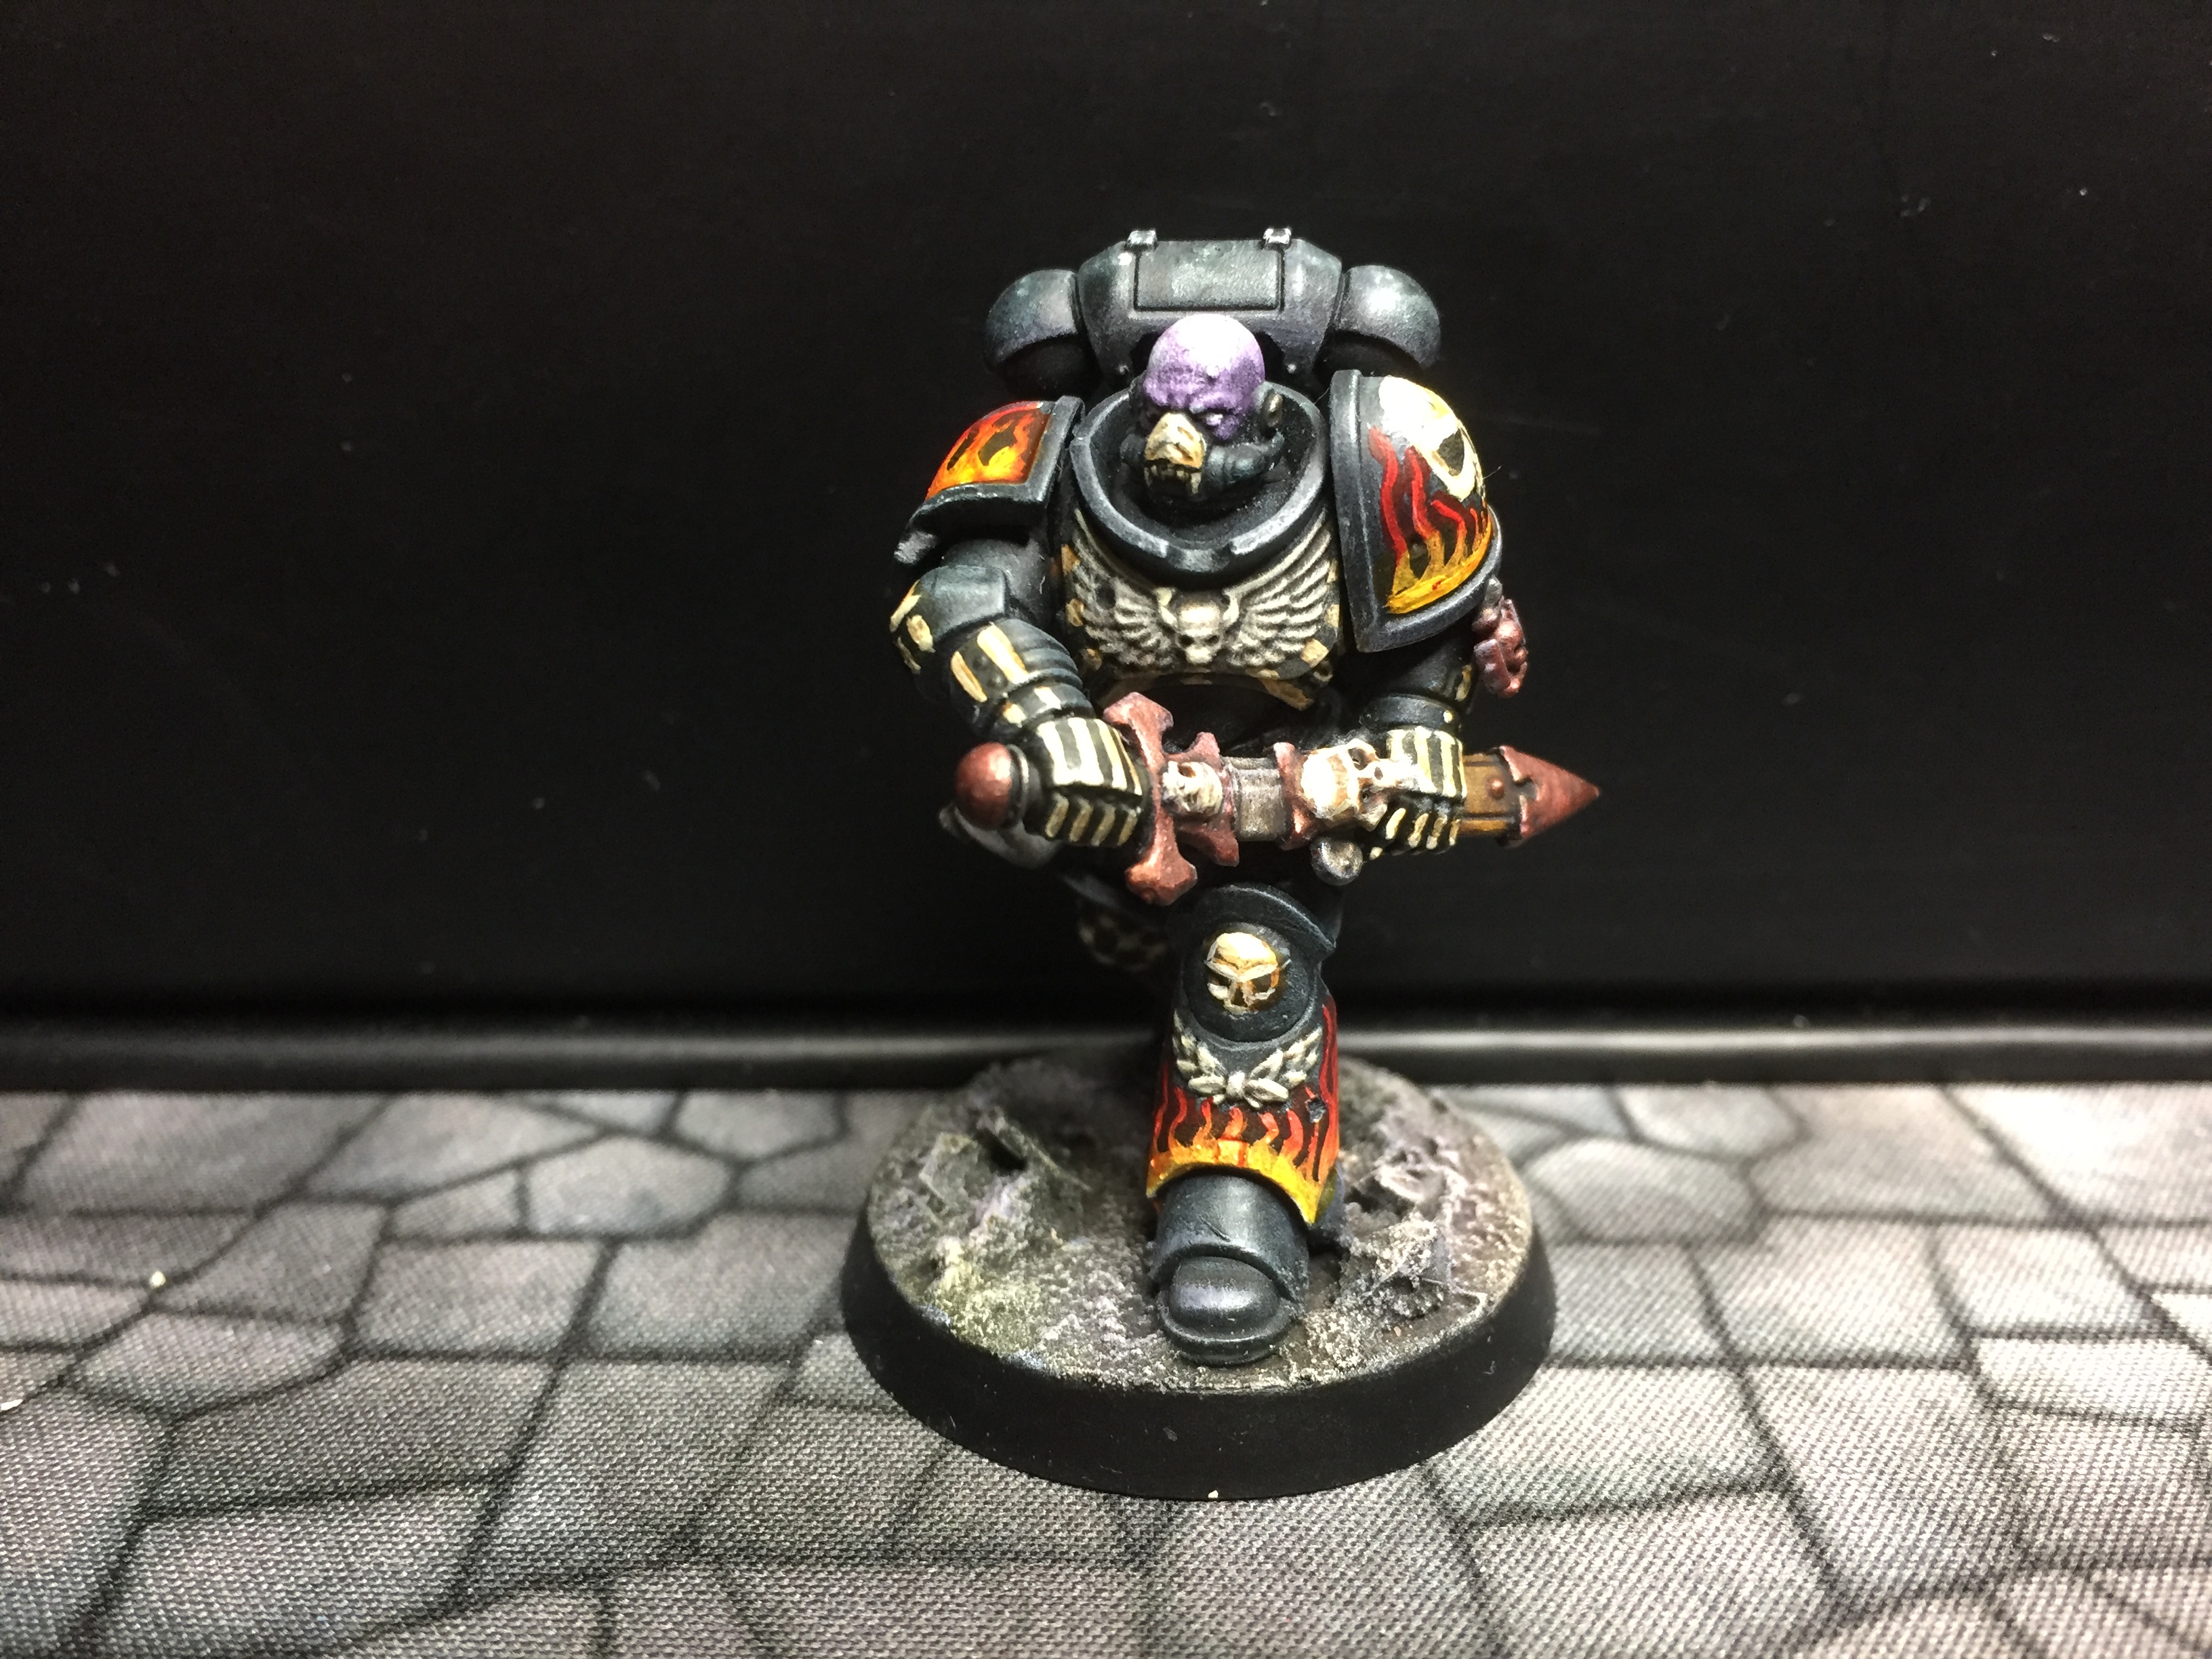


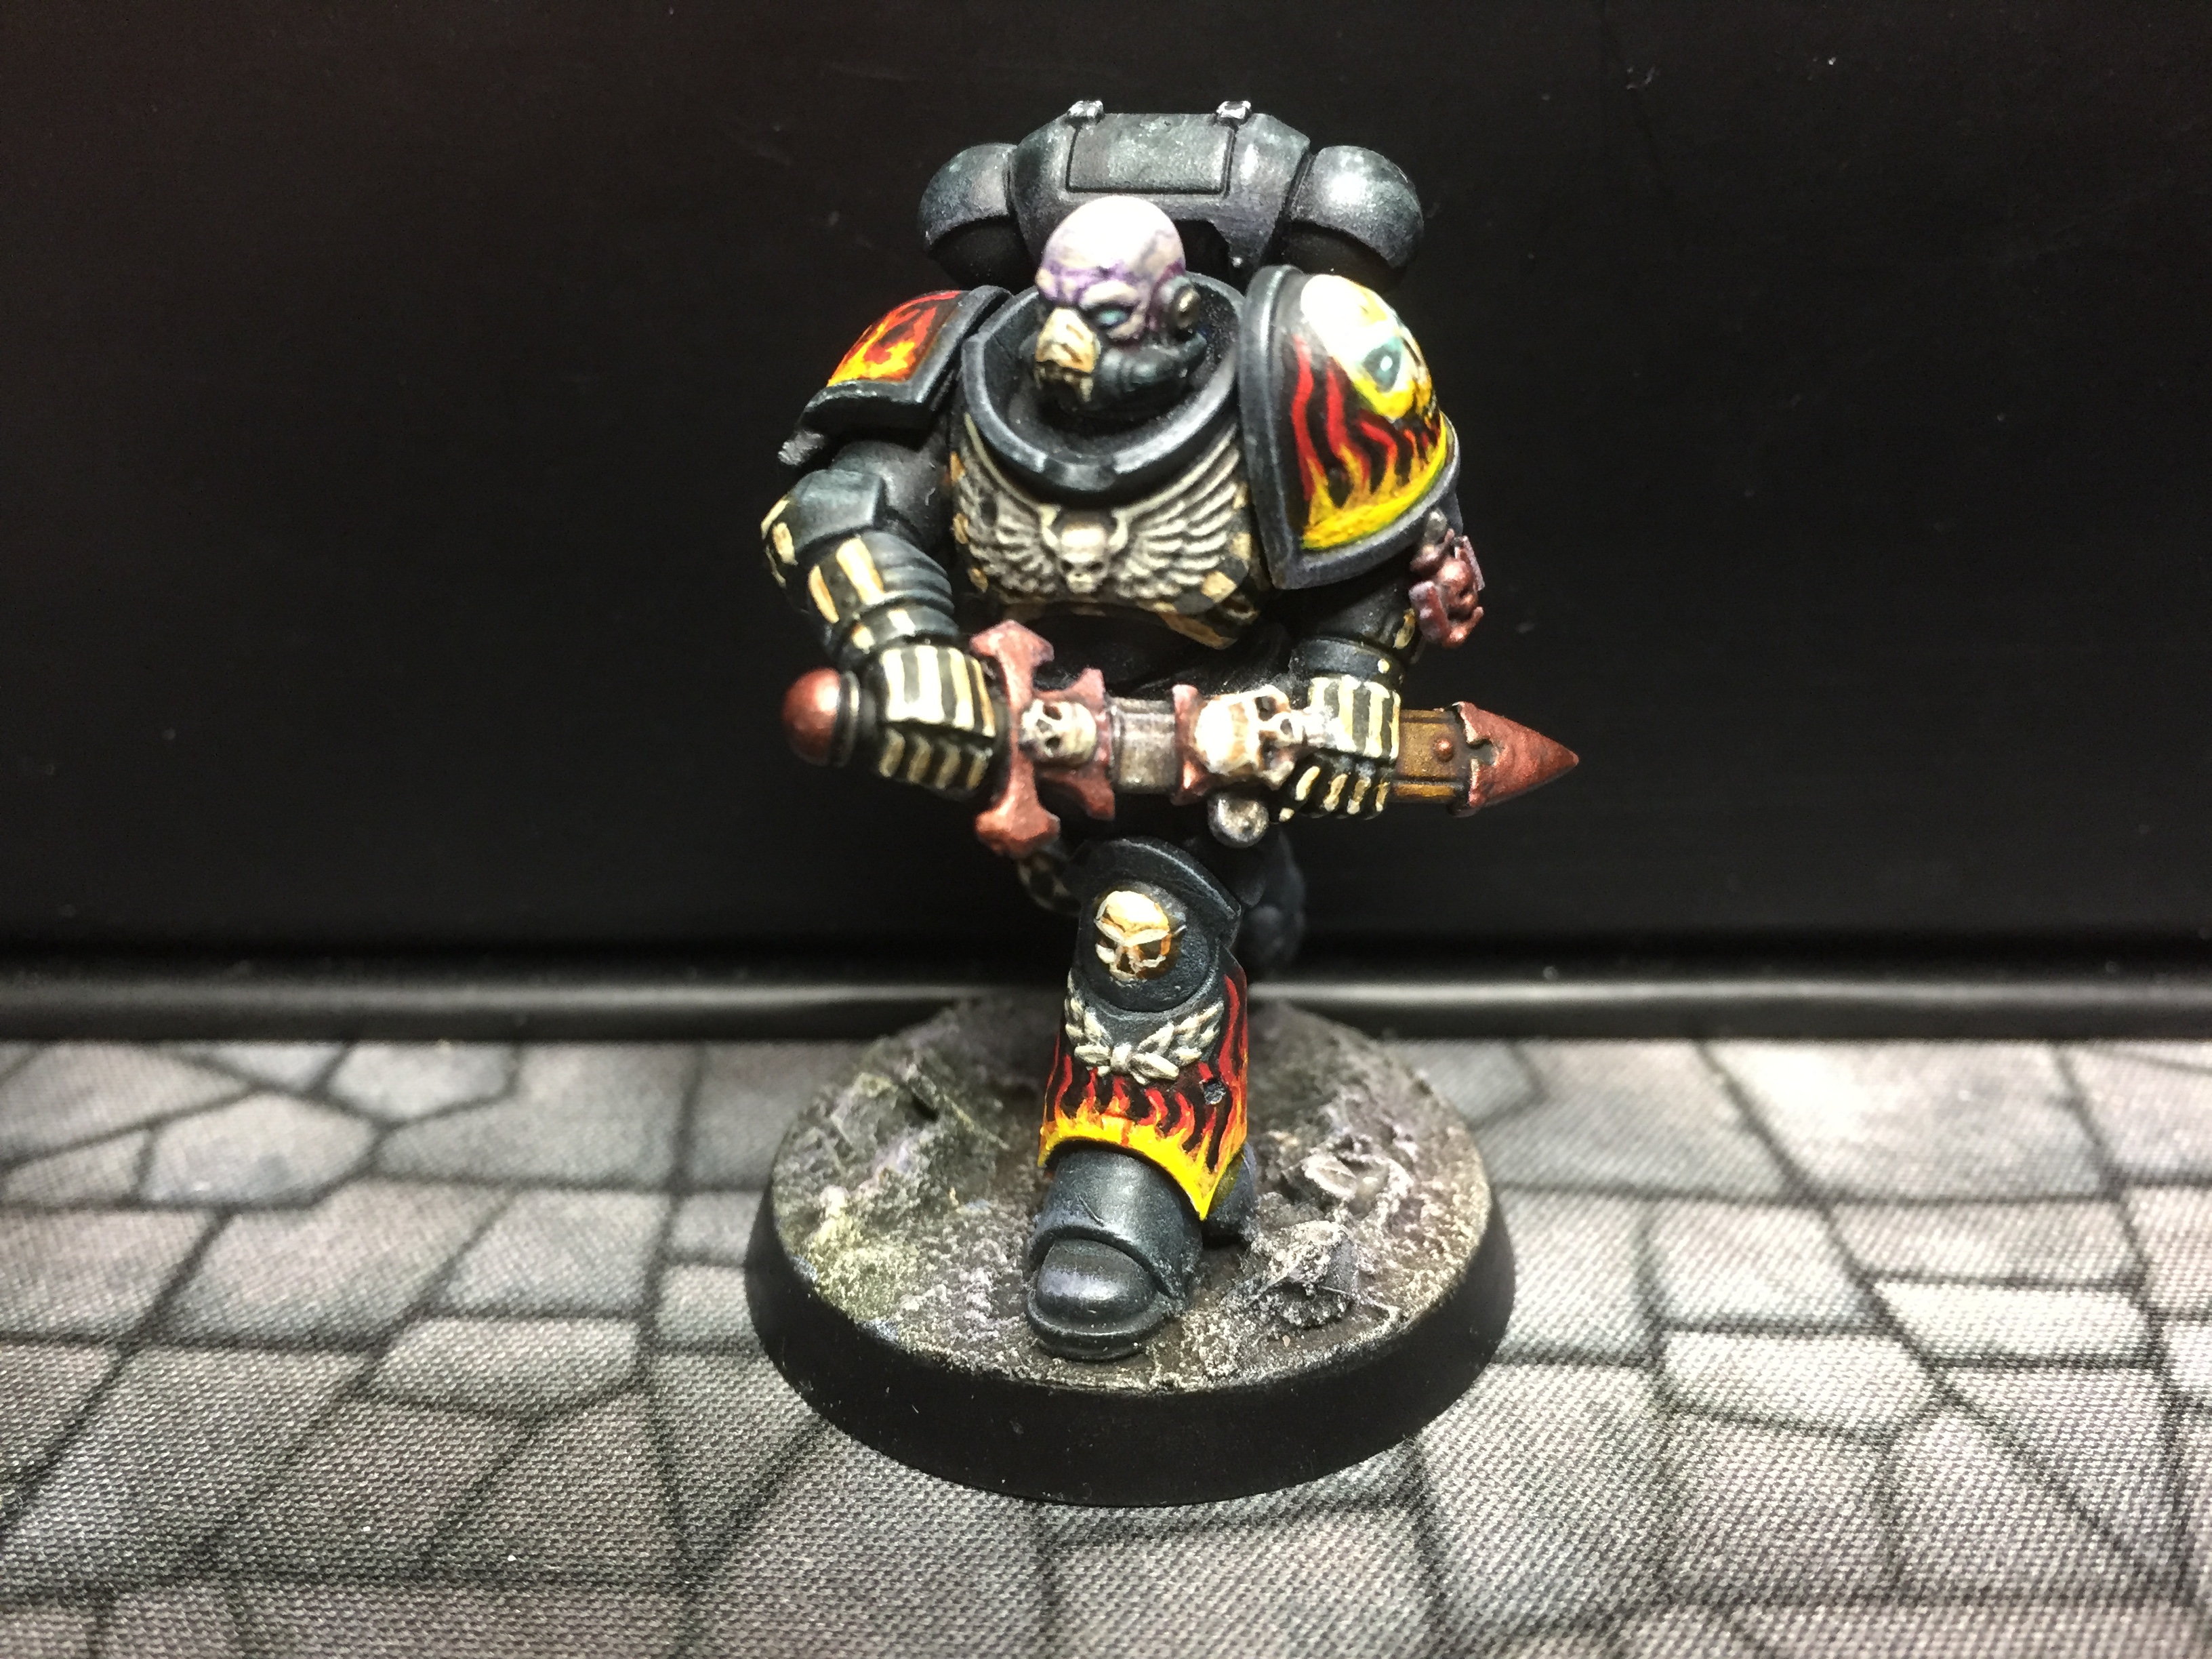
11: Once stage 10 is fully dry, I pick out the lowest central points of the flame with Flash Gitz Yellow, the highest points of the flame with Mephiston Red, and I tidy up the gaps between the flames with Abaddon Black:


12: I Highlight the skin with thin coats of Rakarth Flesh (there are plenty of good tutorials on highlighting faces if you are unsure on how to best do this):

13: I shade the eye sockets with Drakenhof Nightshade, and use the same to paint wiggly veins on the head. I then use Carroburg Crimson to stain the flesh where it meats metal. I tidy up & pick out any final highlights with more Rakarth Flesh:
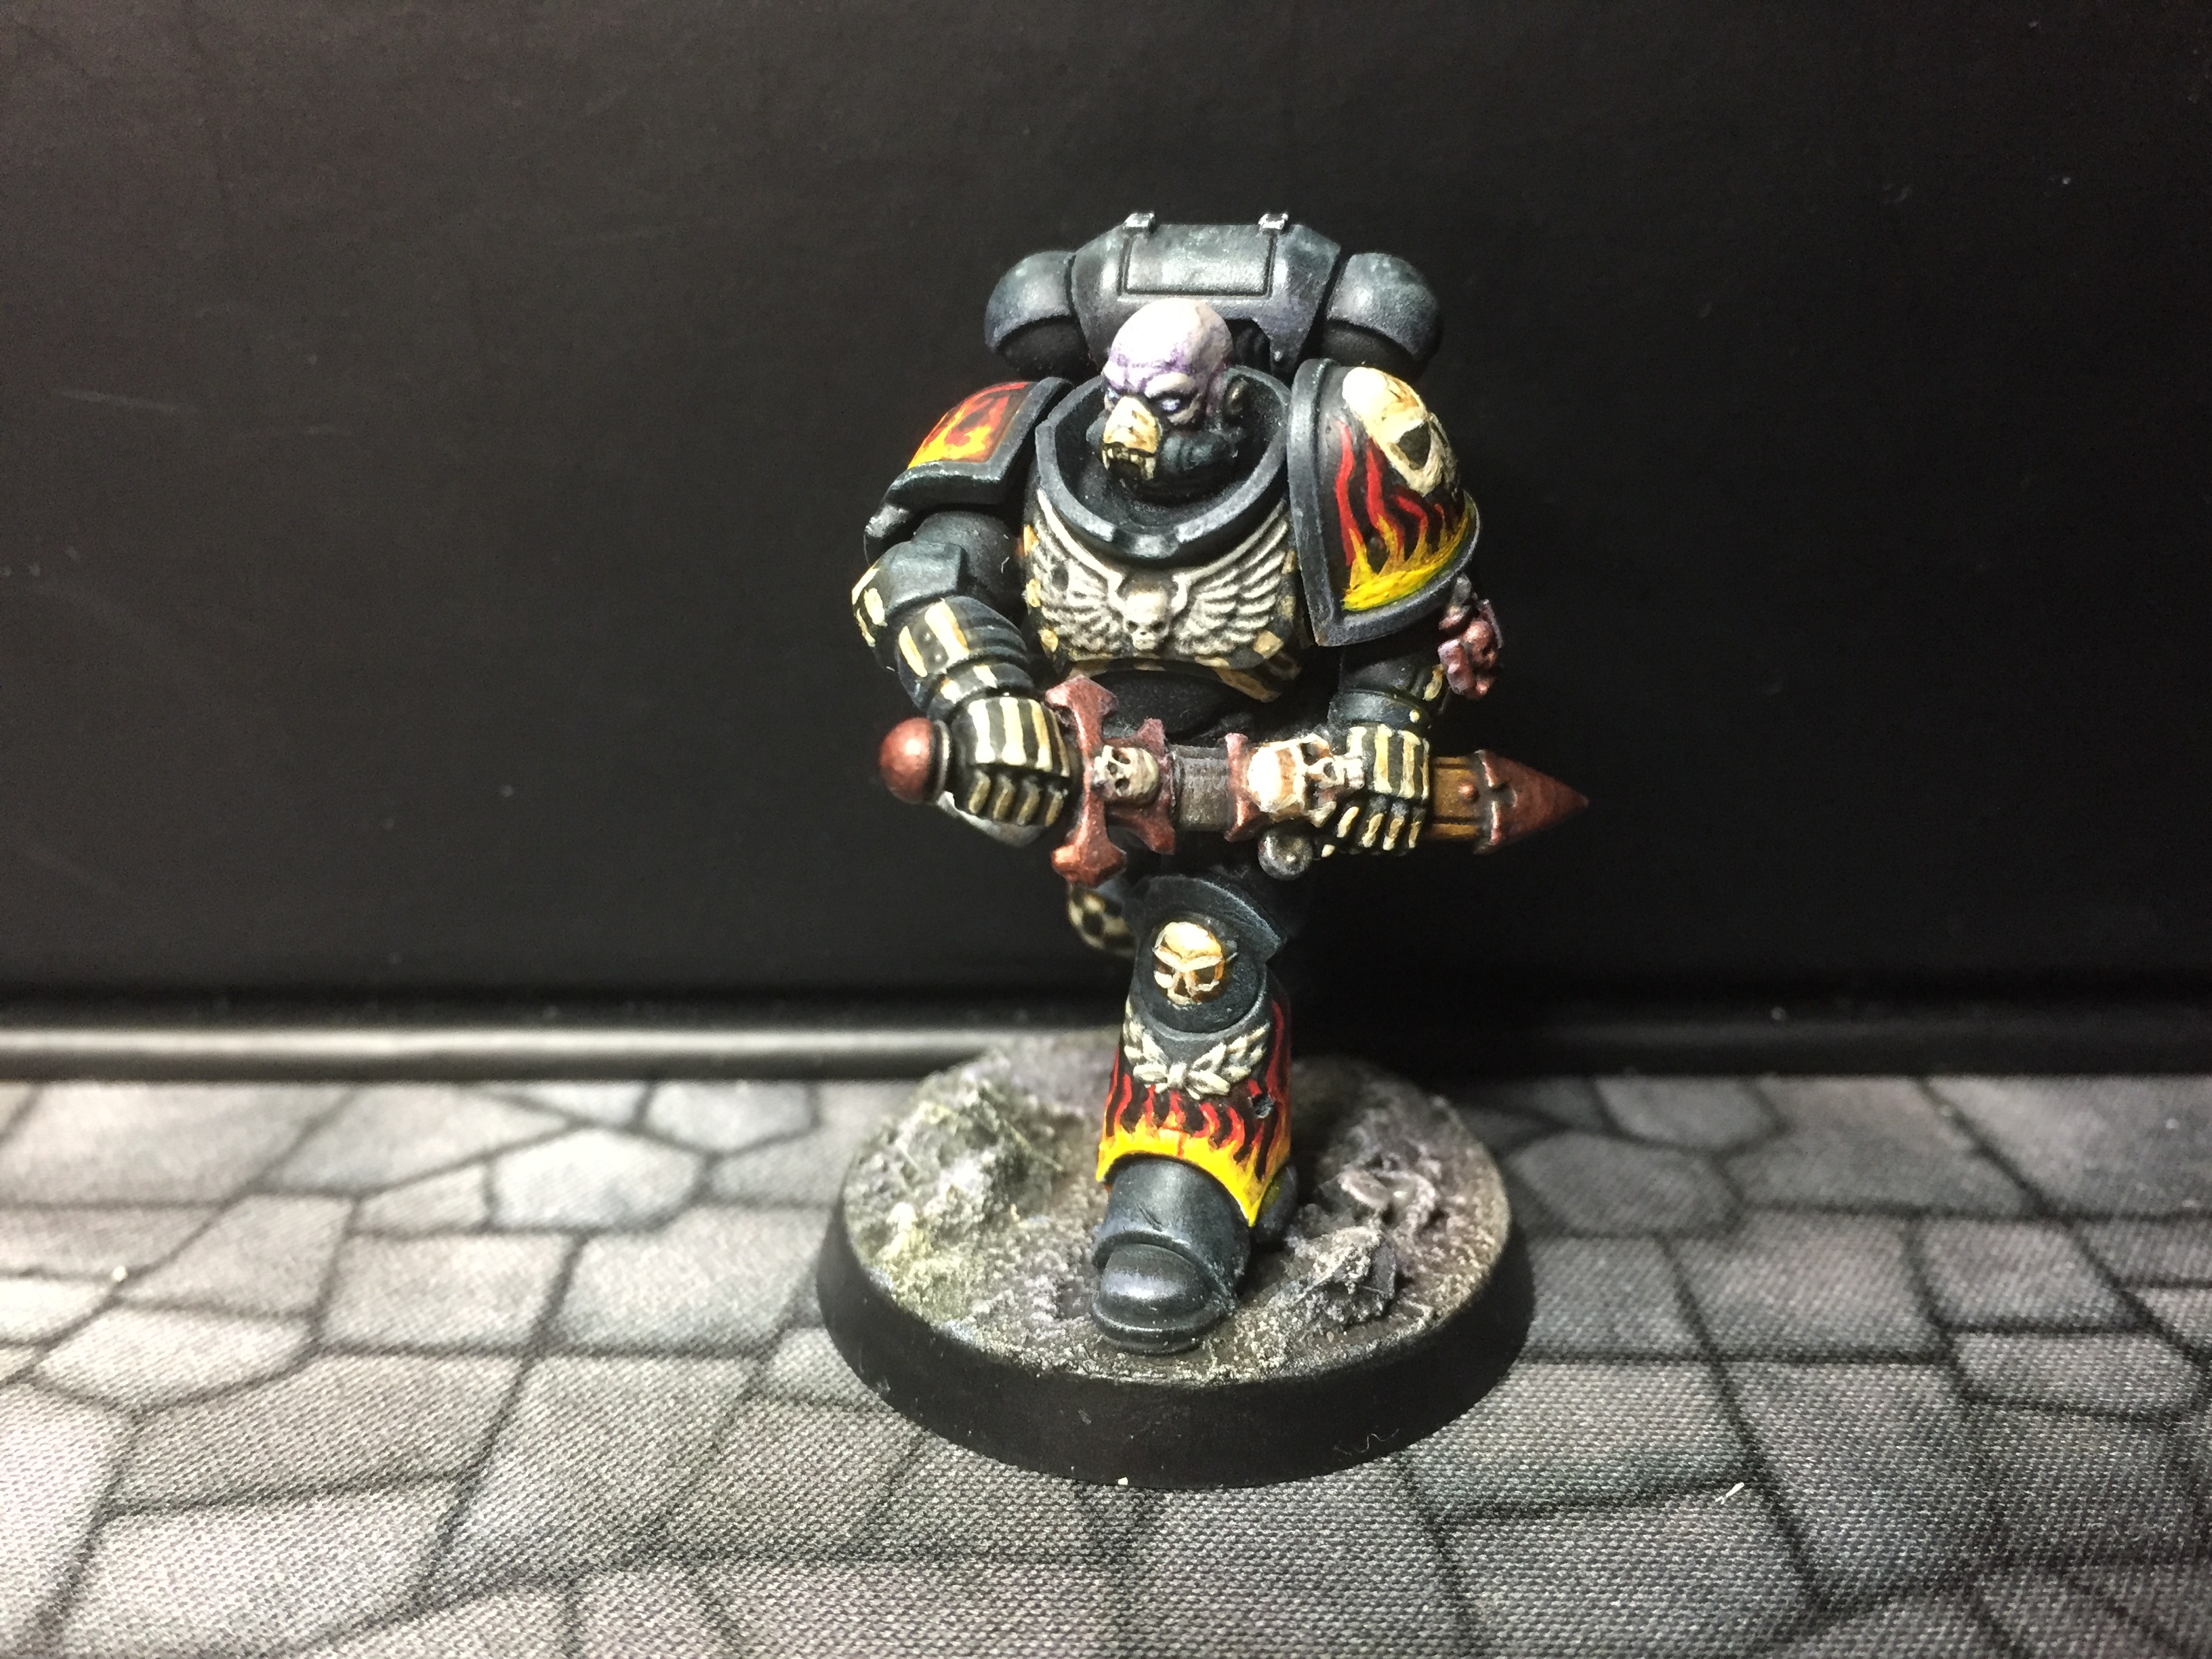
14: The eyes and helmet eye lenses got painted with Nihilakh Oxide. I then put a little white dot in the eyes of the skull on the shoulder pad, and then I paint the skull eyes with Nihilakh Oxide. I allow some of this to flow over the bone of the eye socket to add a glow effect. At this point, I also went over the lower part of the skull with Casandora Yellow to give the flames a bit of glow:
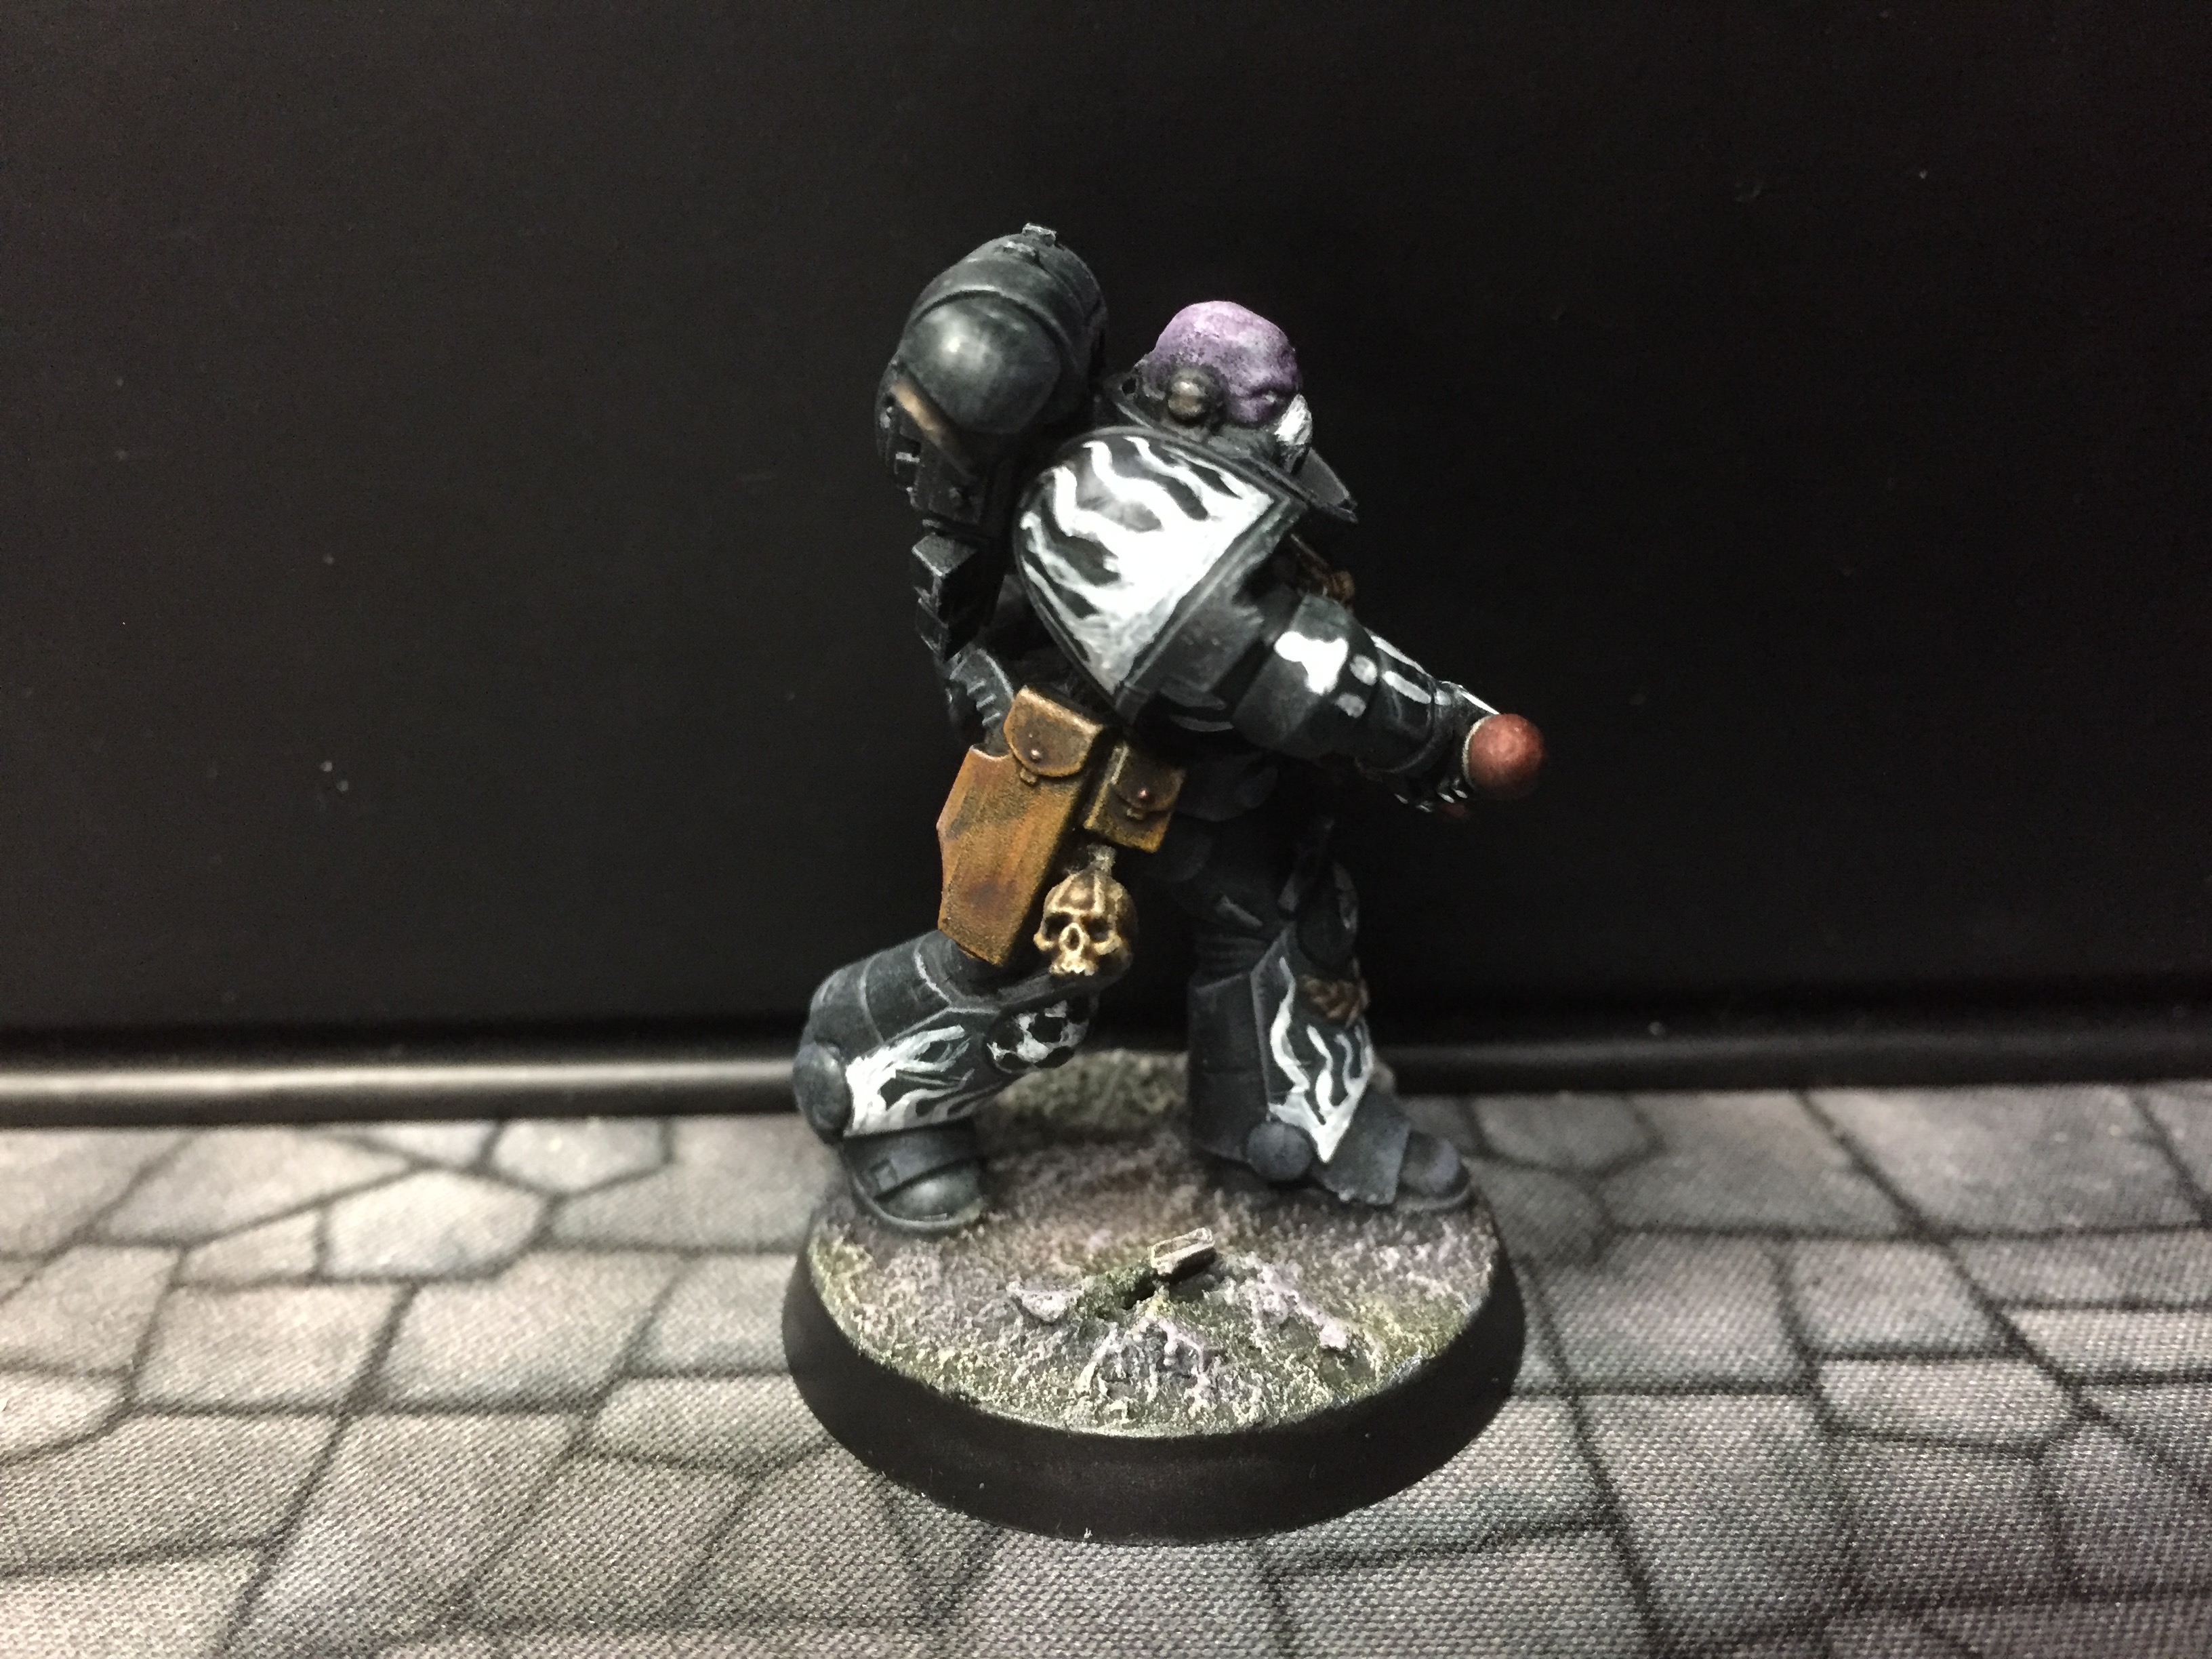
15: I use Nihilakh Oxite, Ryza Rust and Typhus Corrosion to weather both the base and the mini – especially the metal areas. Take your time with this until you’ve got the feel for it, it’s easy to get carried away, and you don’t want to spoil your mini at this point:

16: I highlightd the scabbard with XV88, and used the same to pick out the cord that holds the skull to the pouches. I then shaded these areas one more time with Agrax Earthshade. Finally, I used Ironbreaker and then Runefang Steel to highlight the sword blade:
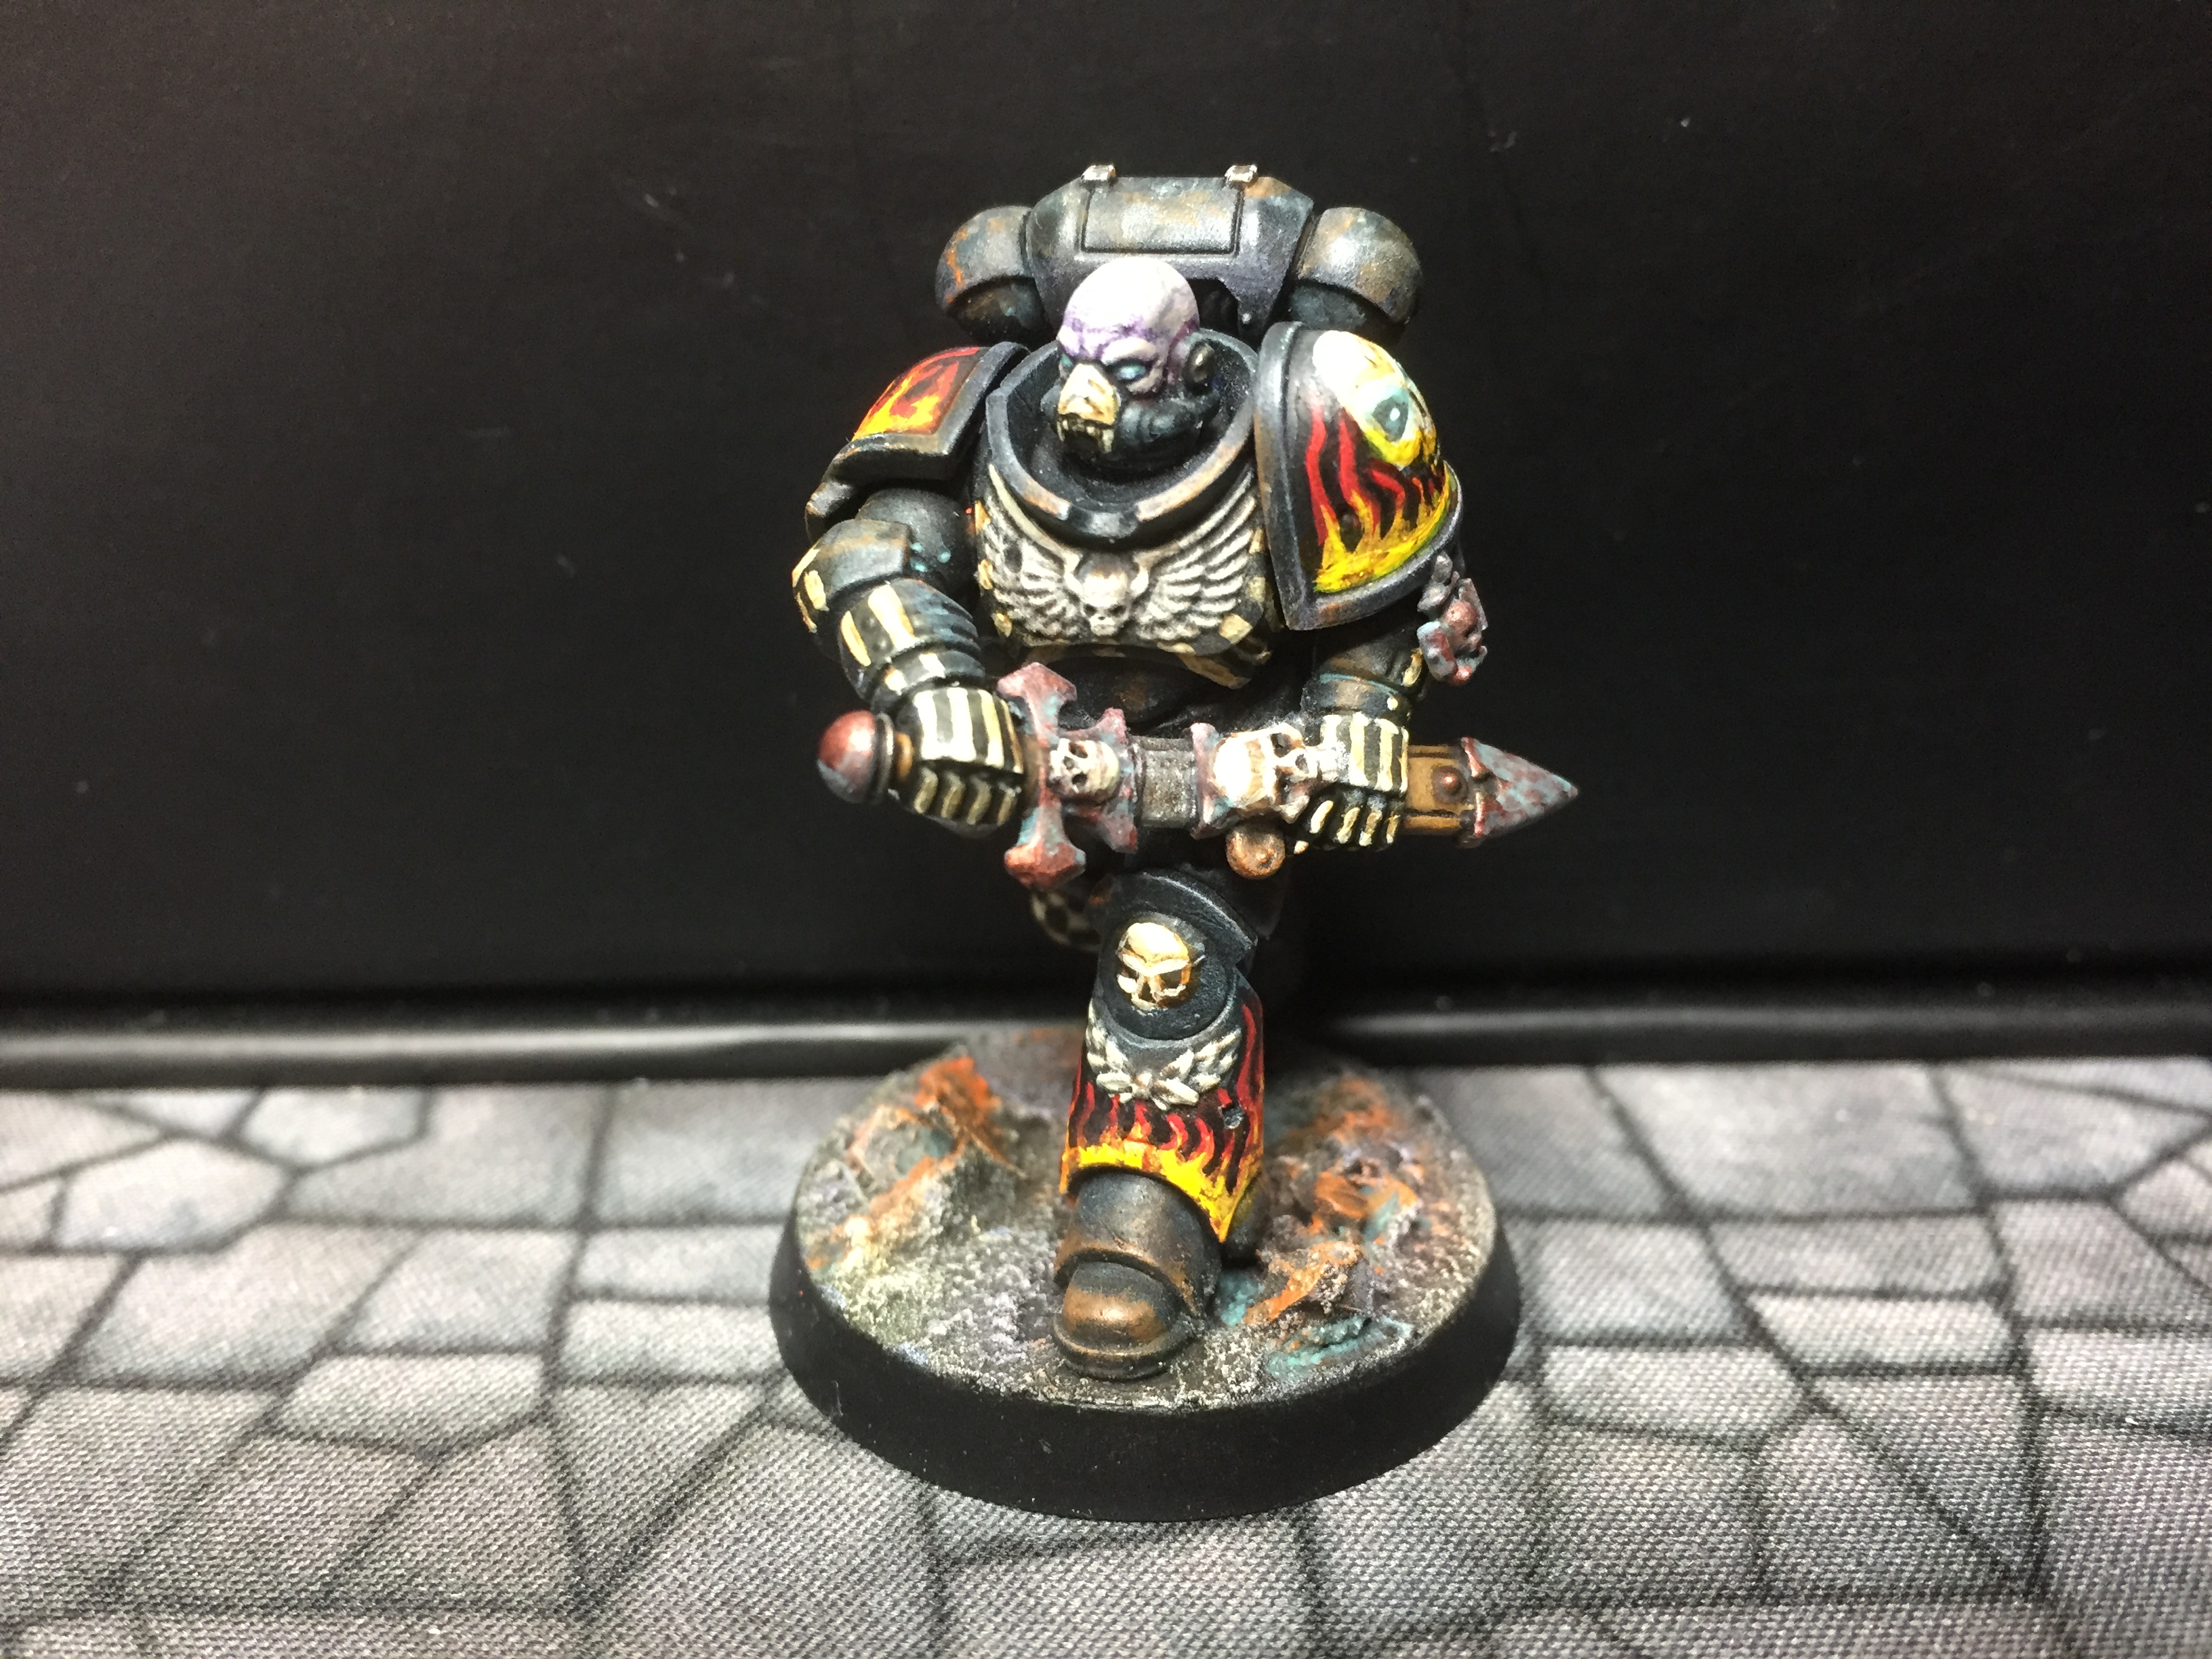


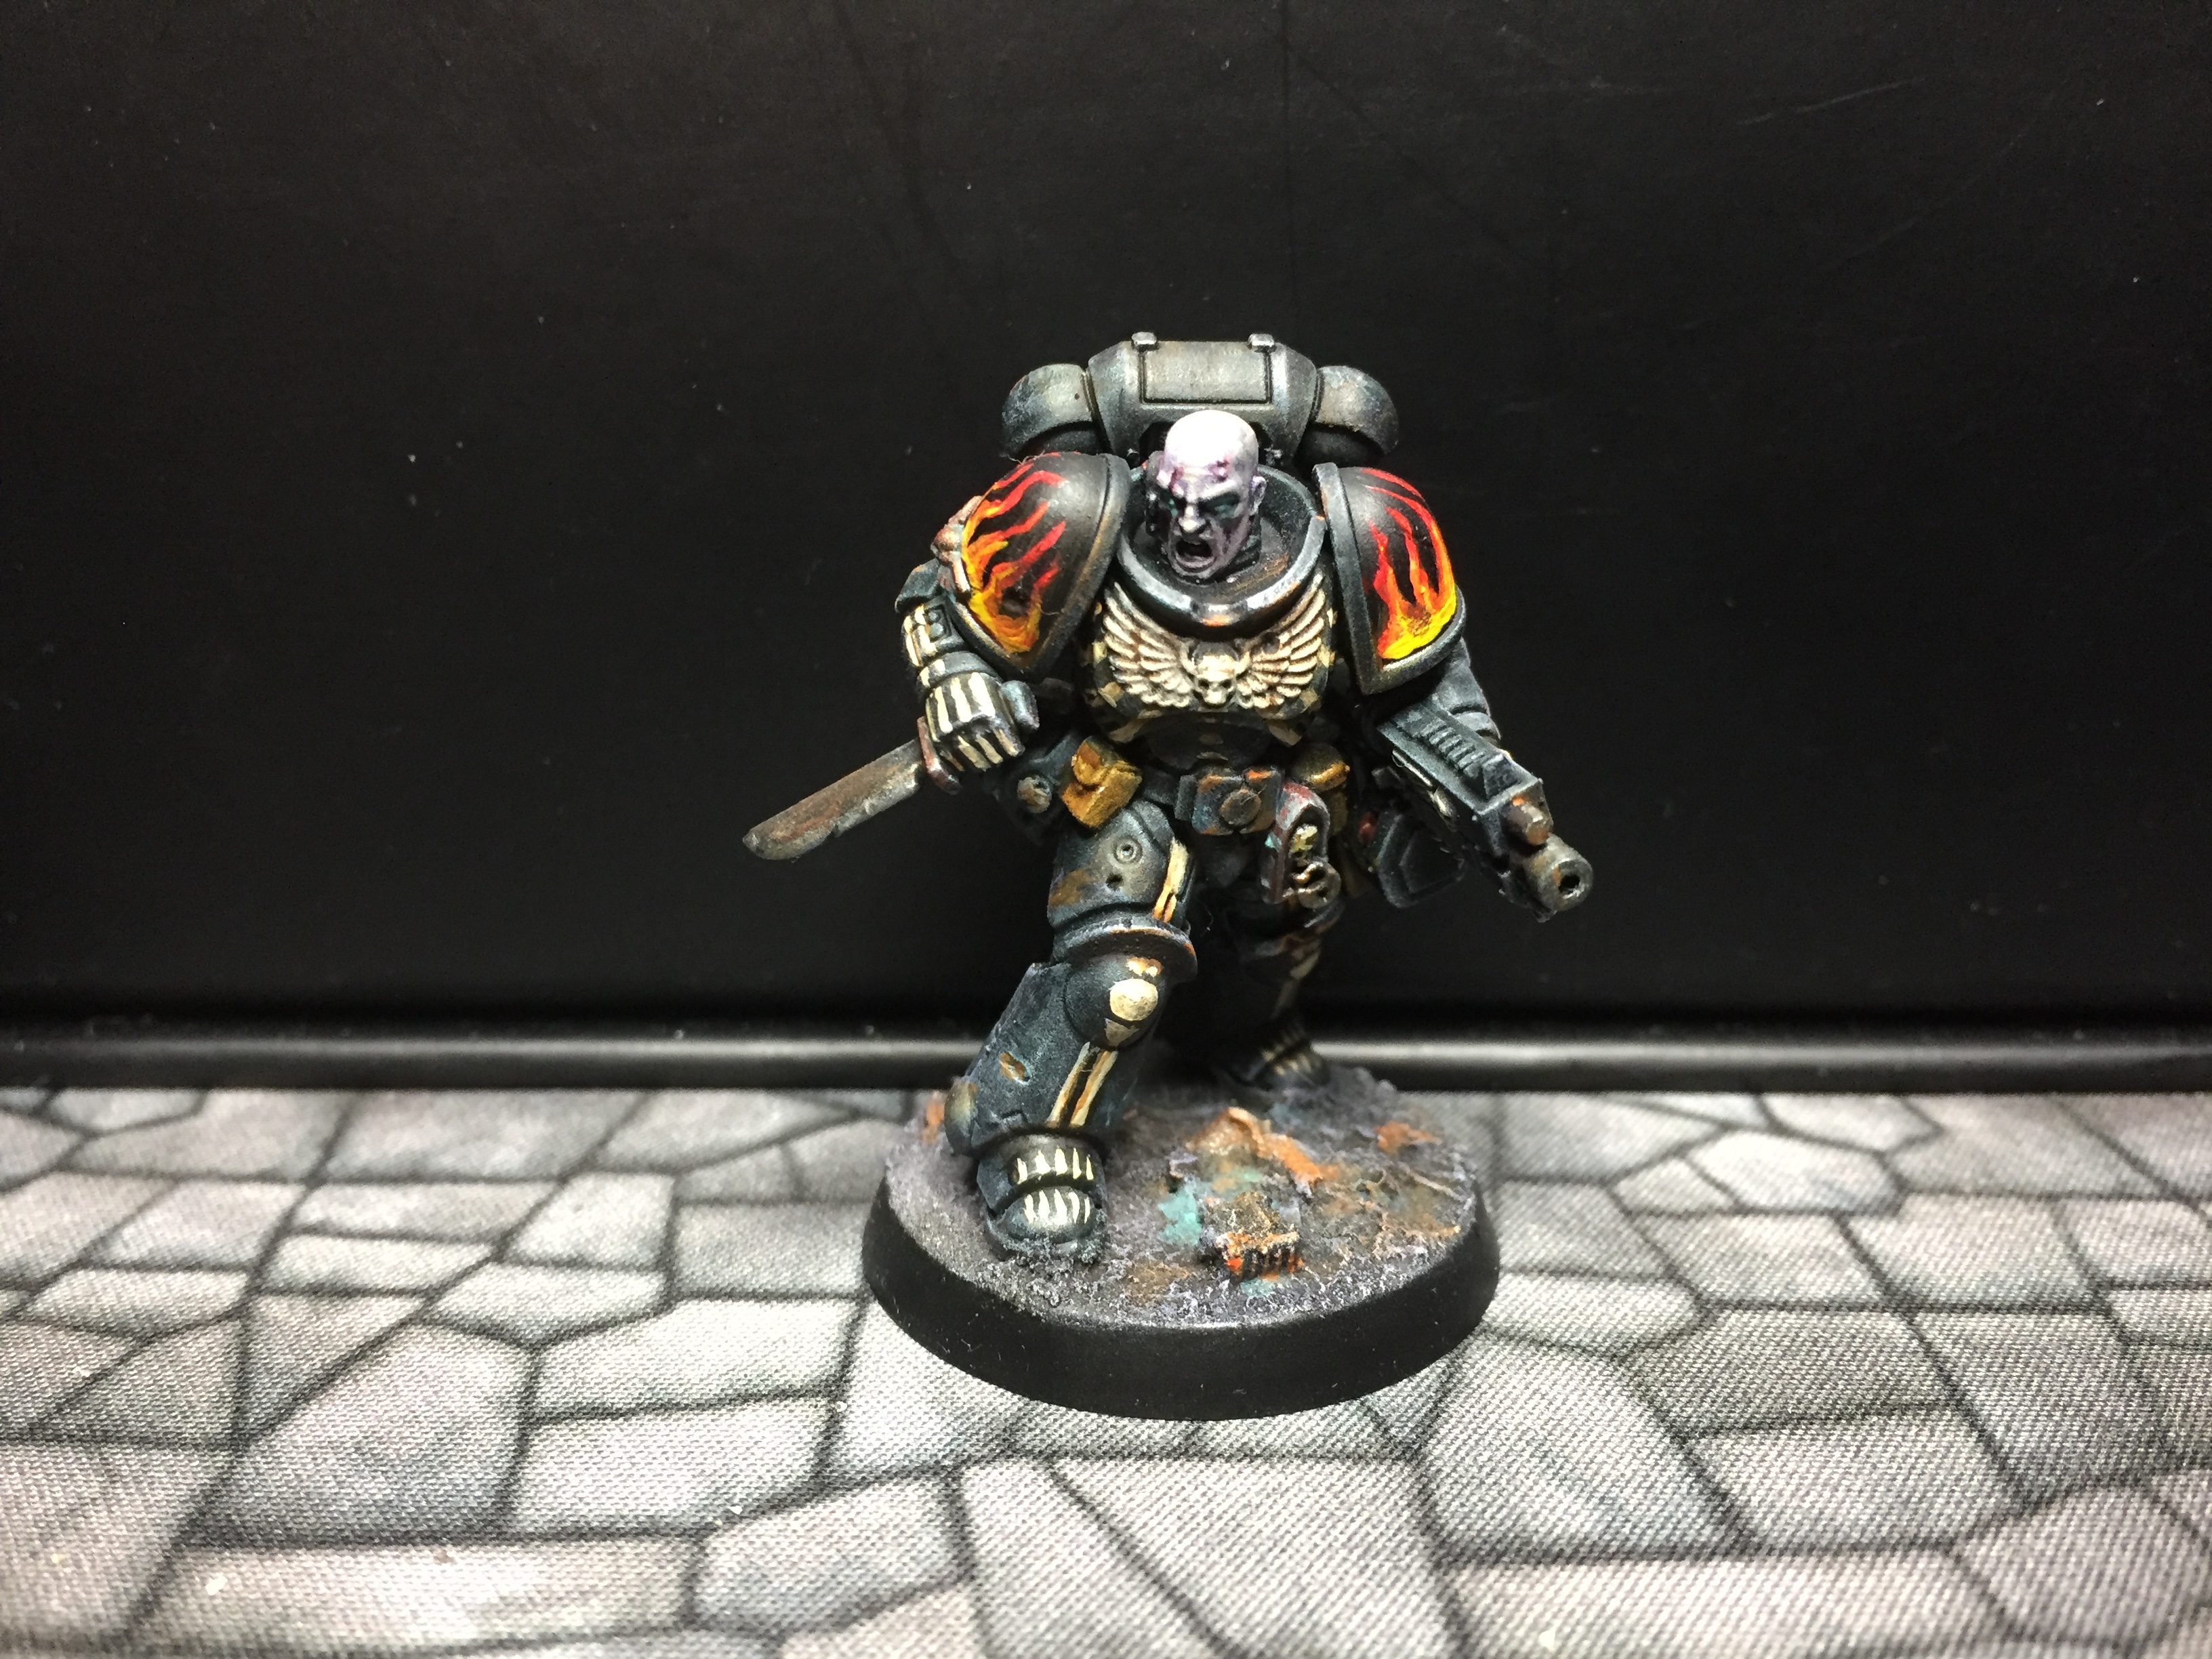
And that’s him done!! I reckon he took about 90 minutes all it, and was fun to paint in a very unfussy & relaxed way that is a nice alternative to the more formal ‘studio’ style.
I am sure that a different colour contrast paint would work the same for different coloured armour, and you could do ‘proper’ flesh instead of warp-sickened skin, or skip the weathering and used transfers for a more clean-cut vibe. Point is that this approach is very adaptable.
Congrats if you got this far, and thank you for taking a look – I hope you found this post interesting at least, and maybe even helpful! Catch you ll next time – stay safe :-)